Breads & Baking
Traditional Pie Crust
A tender, flaky, buttery homemade pie crust perfect for sweet and savory pies. Cold butter and butter-flavored Crisco give this traditional crust its buttery flavor and flaky texture. The food processor brings it together in short pulses, then the dough rests in the refrigerator before rolling.
Start With Cold Butter and Crisco
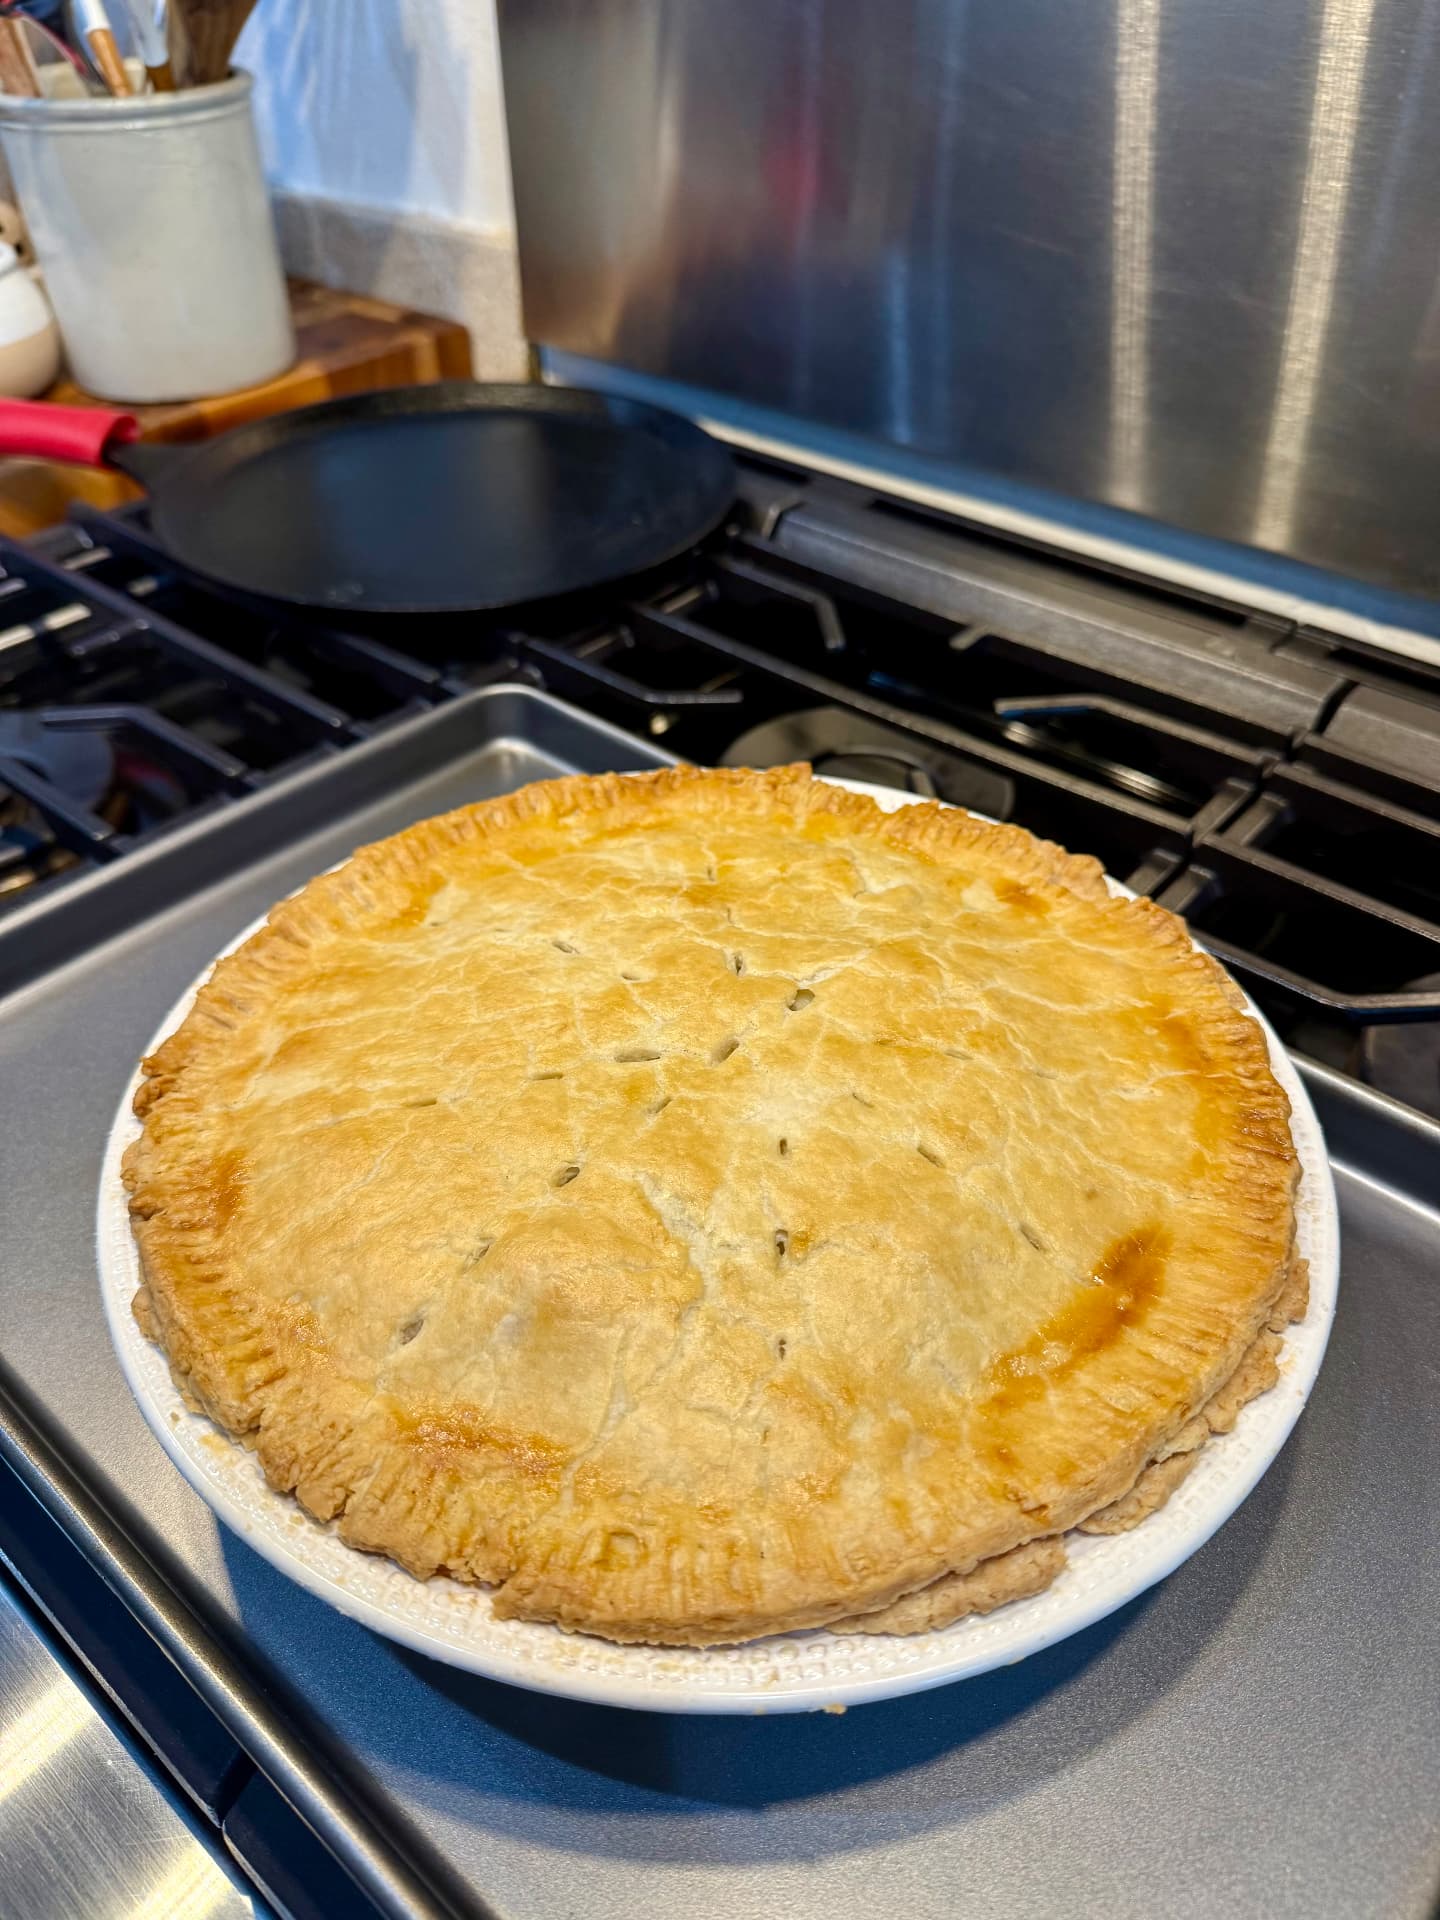
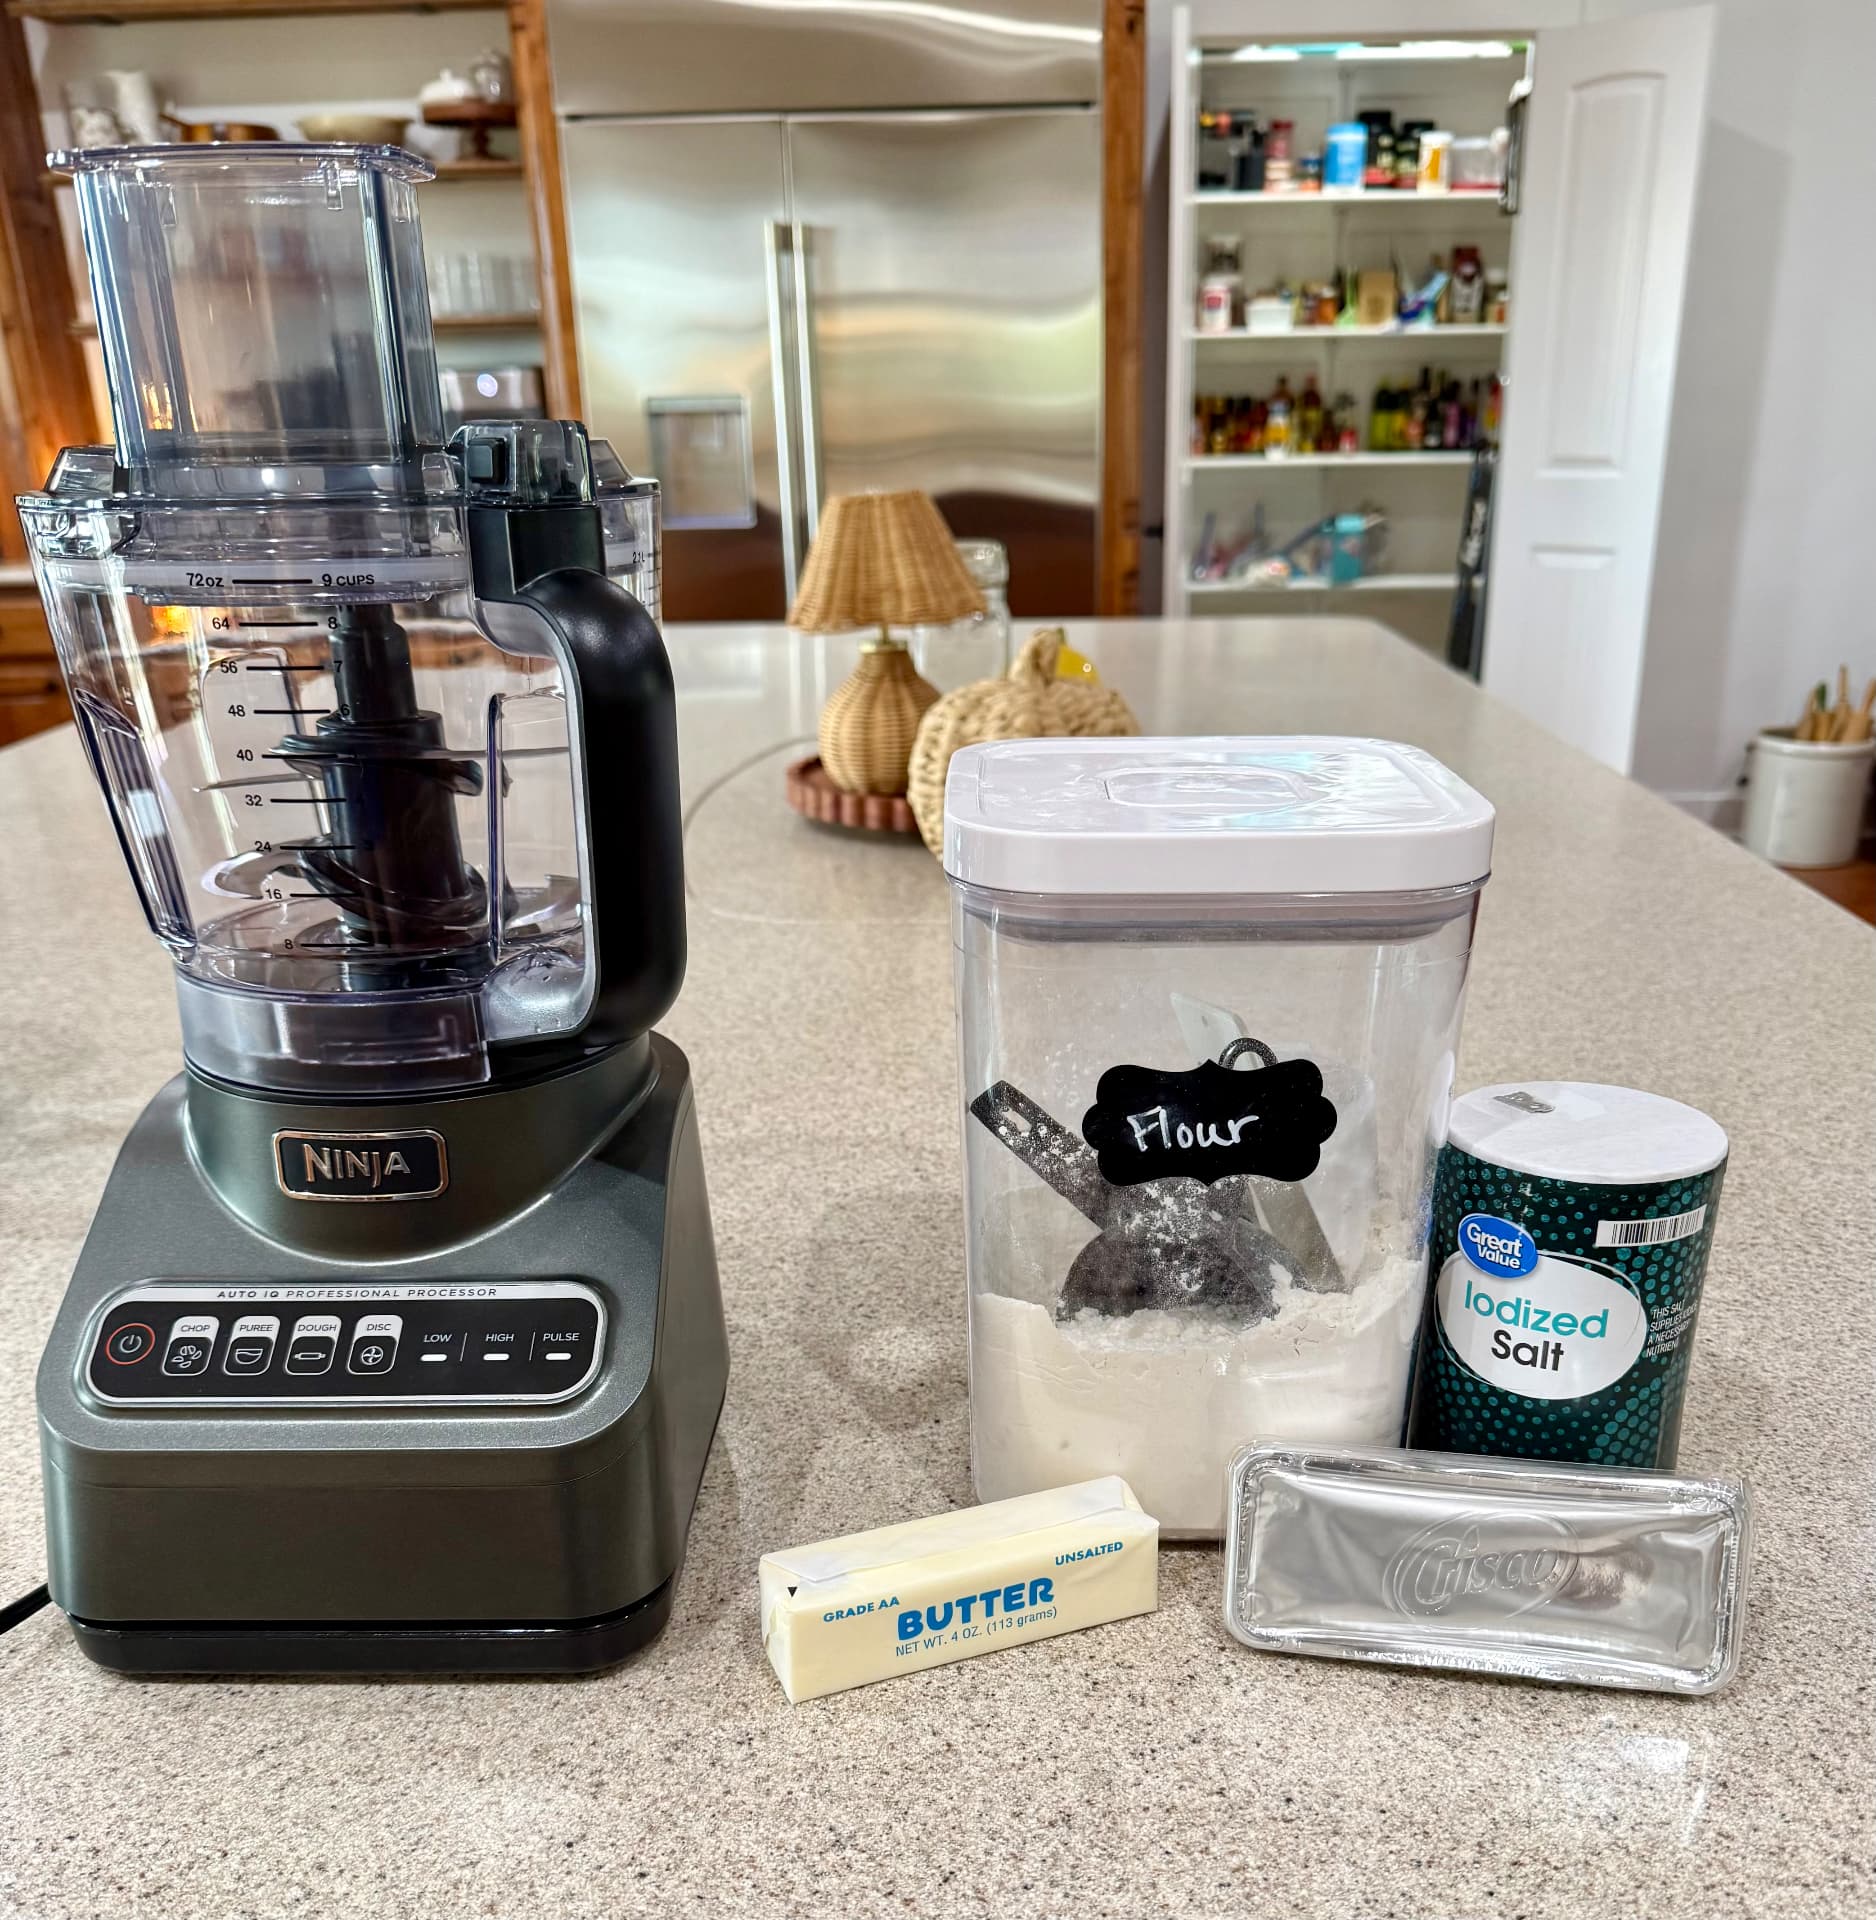
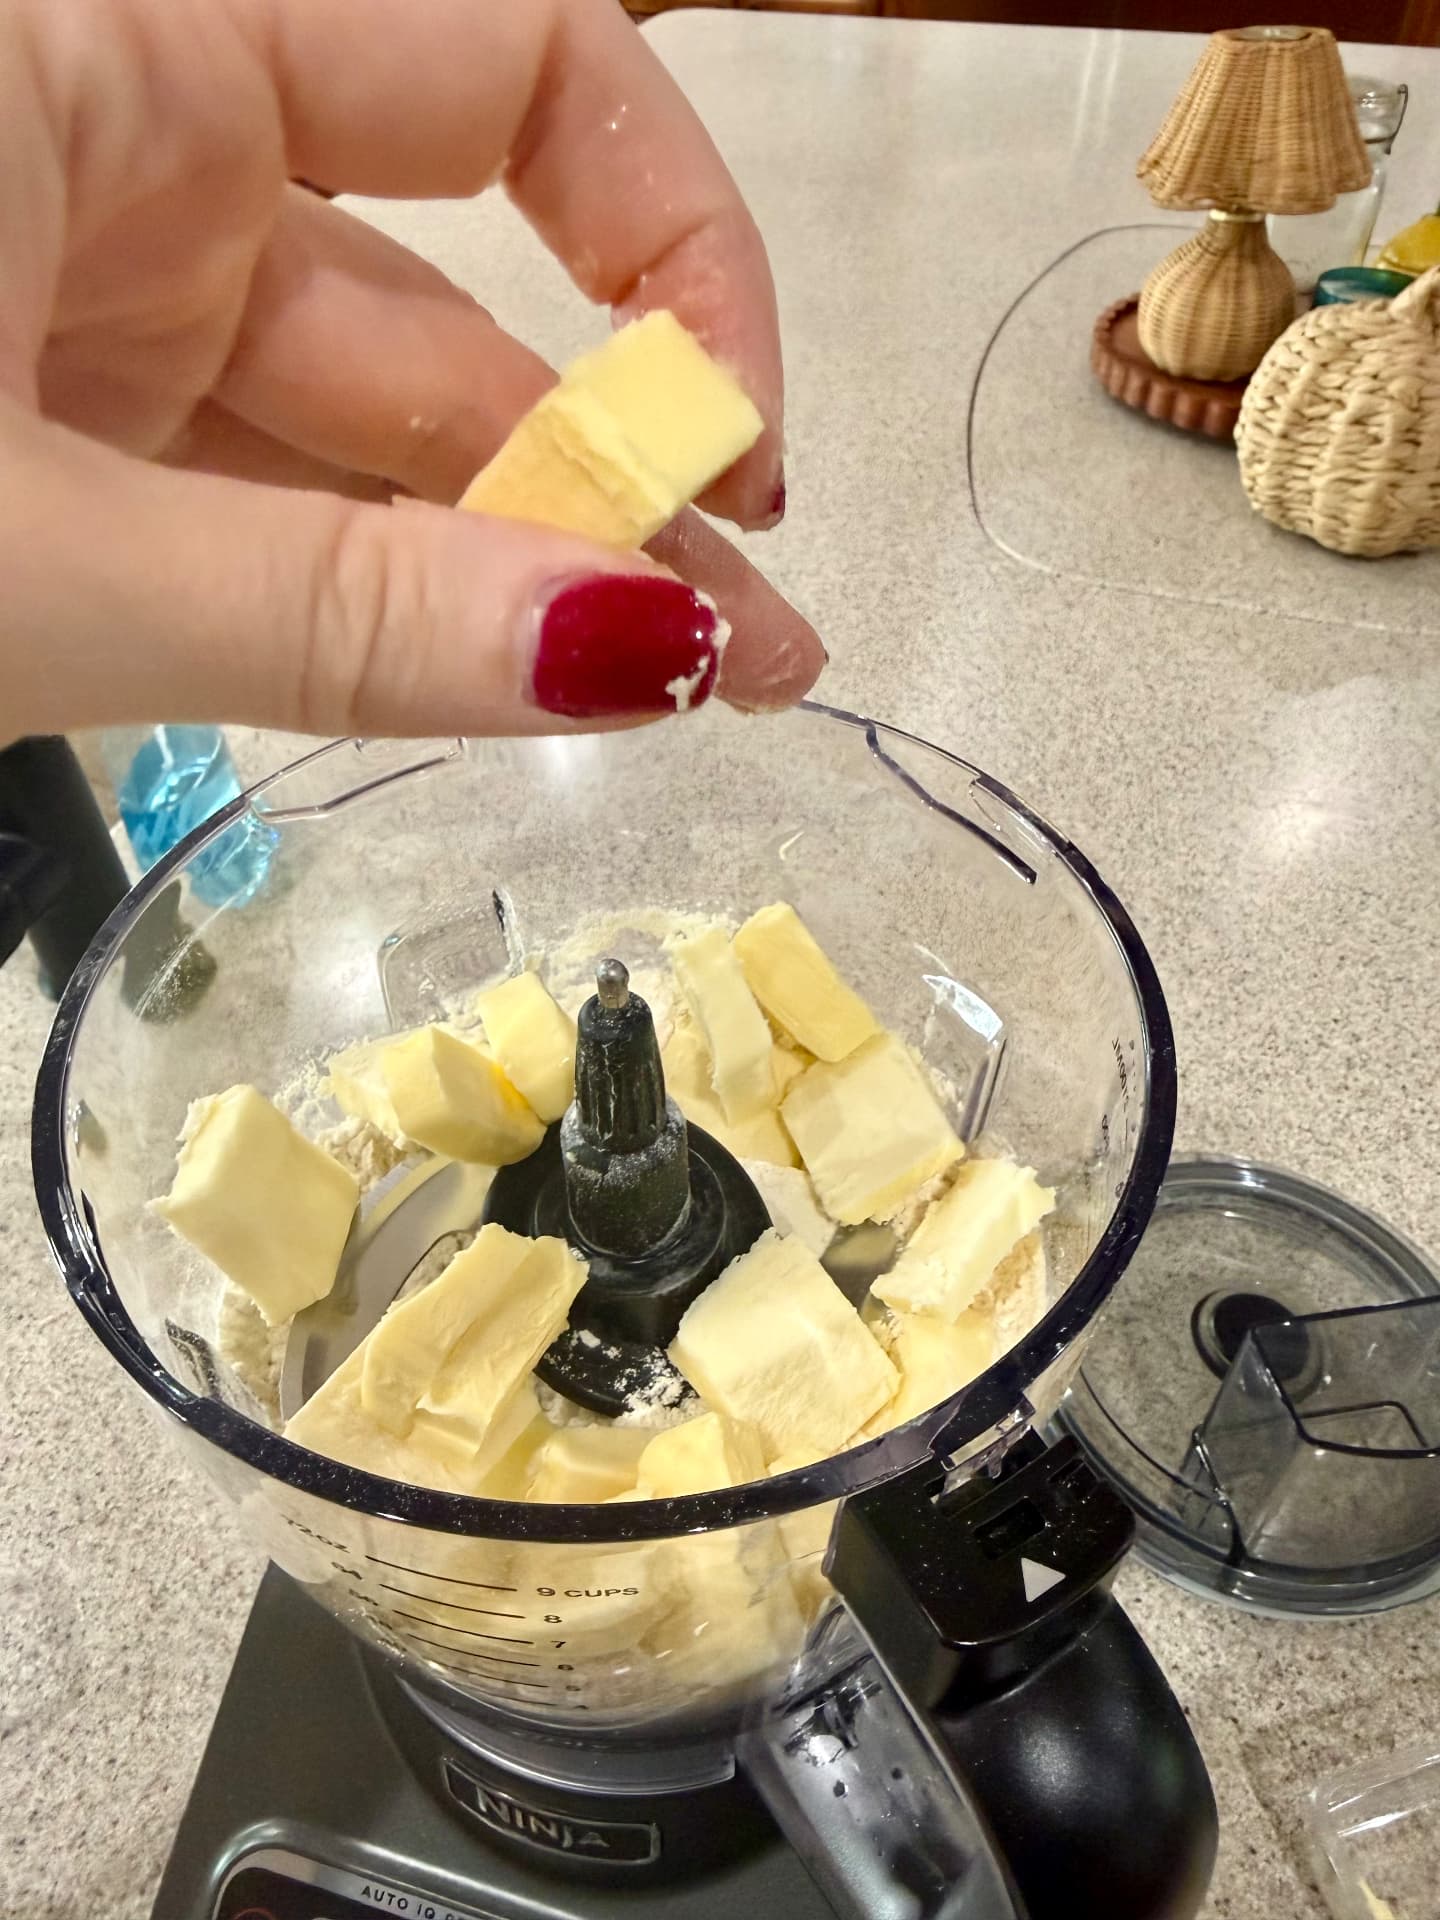
Cut the butter into small cubes and keep both fats refrigerated until cold. Pulse the flour and salt together, then add the butter and chilled Crisco. Short bursts leave small pieces of fat throughout the dough.
Look for Coarse Crumbs
Pulse approximately 8–12 times, stopping when the mixture looks like coarse crumbs with some pea-sized pieces of fat remaining.
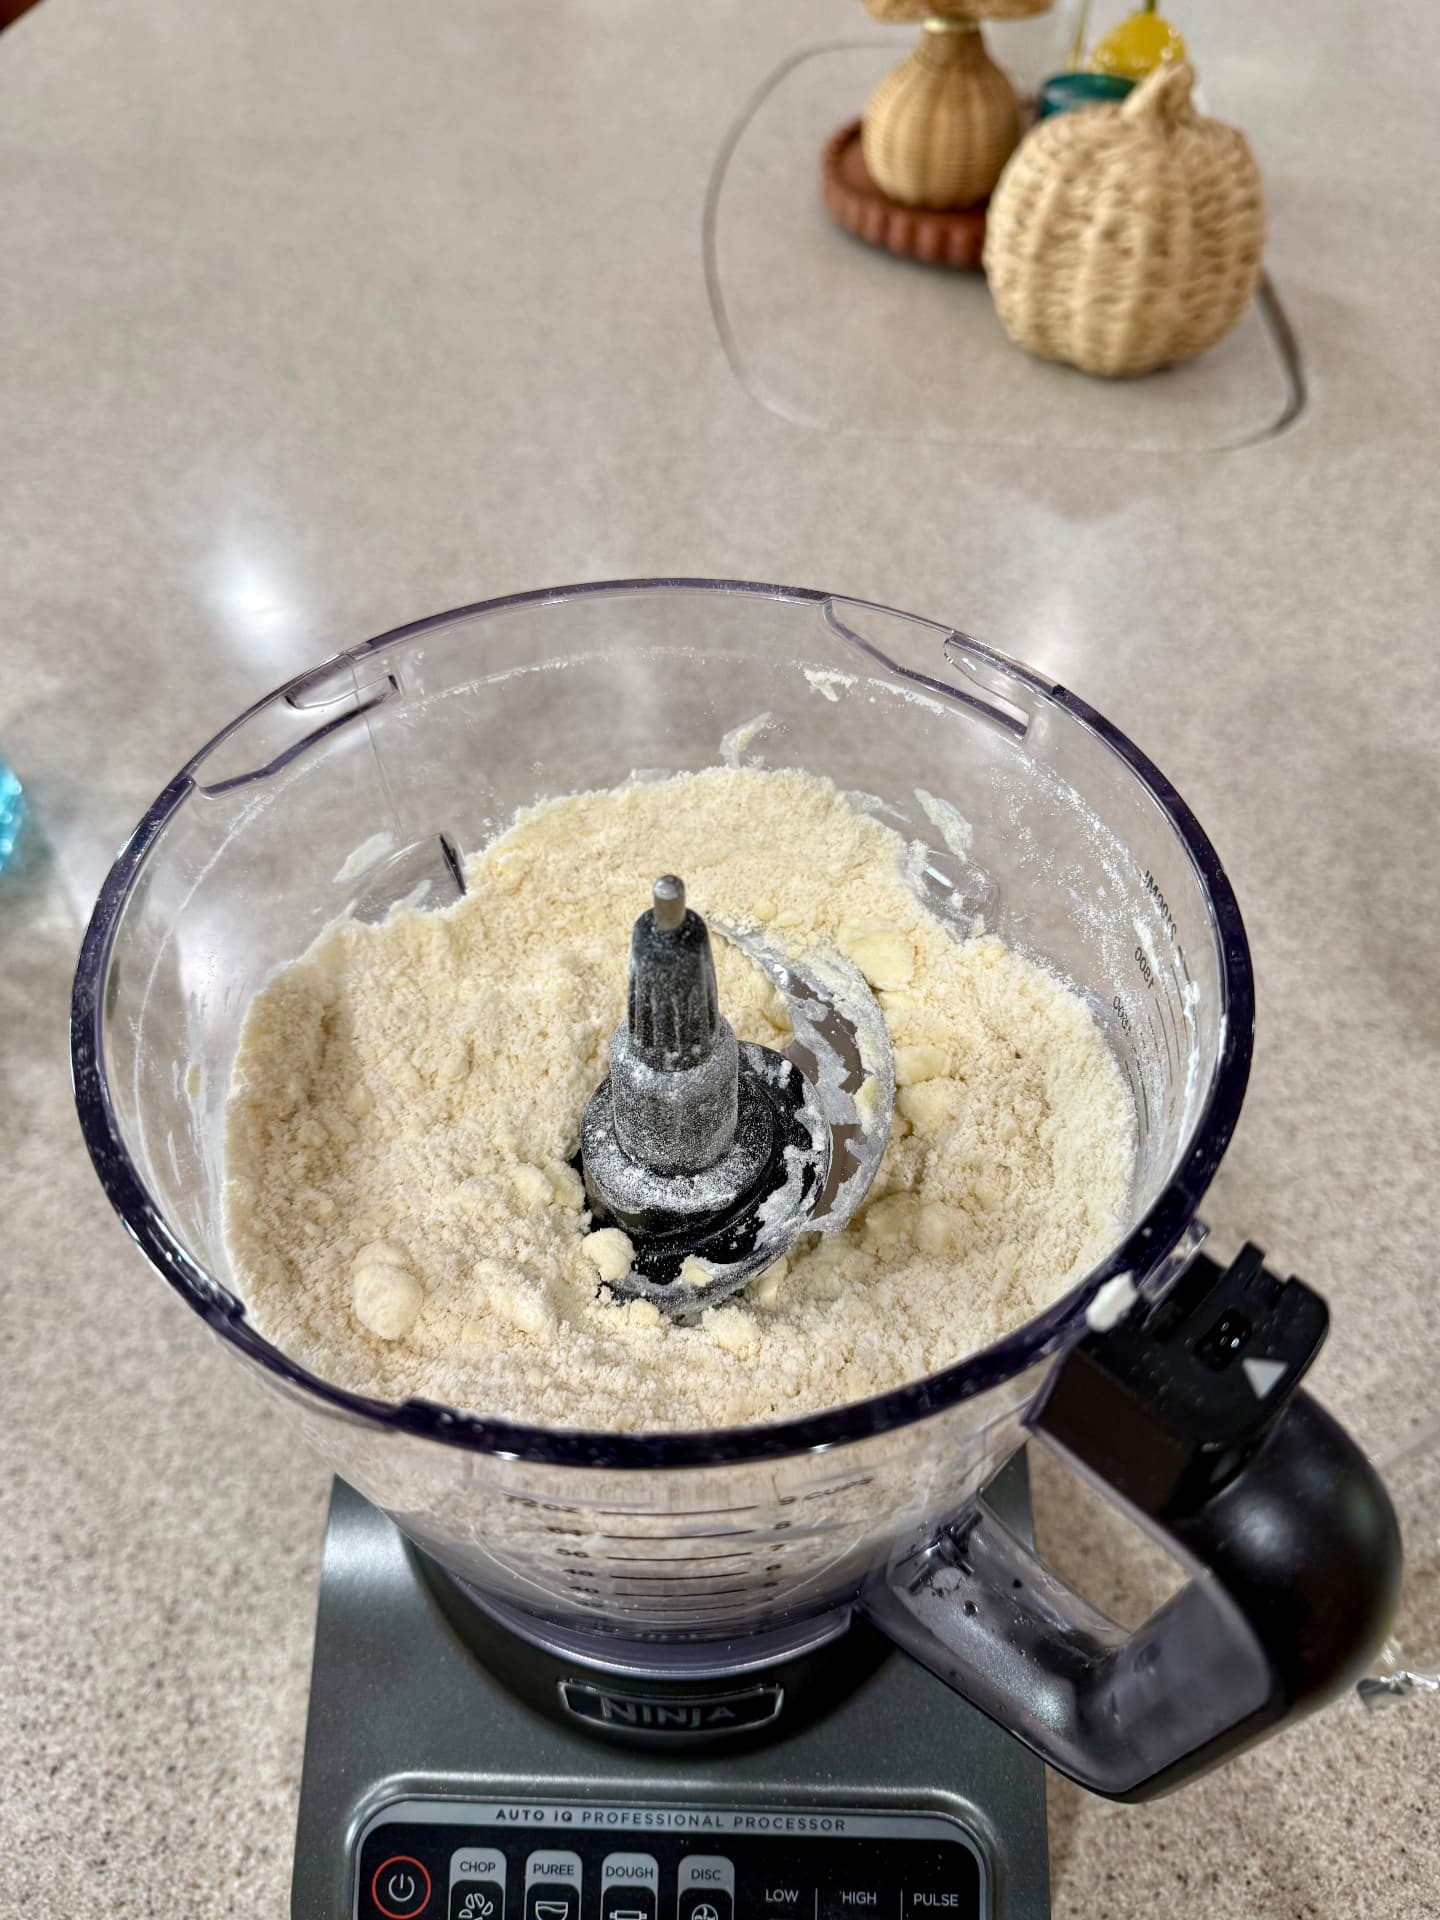
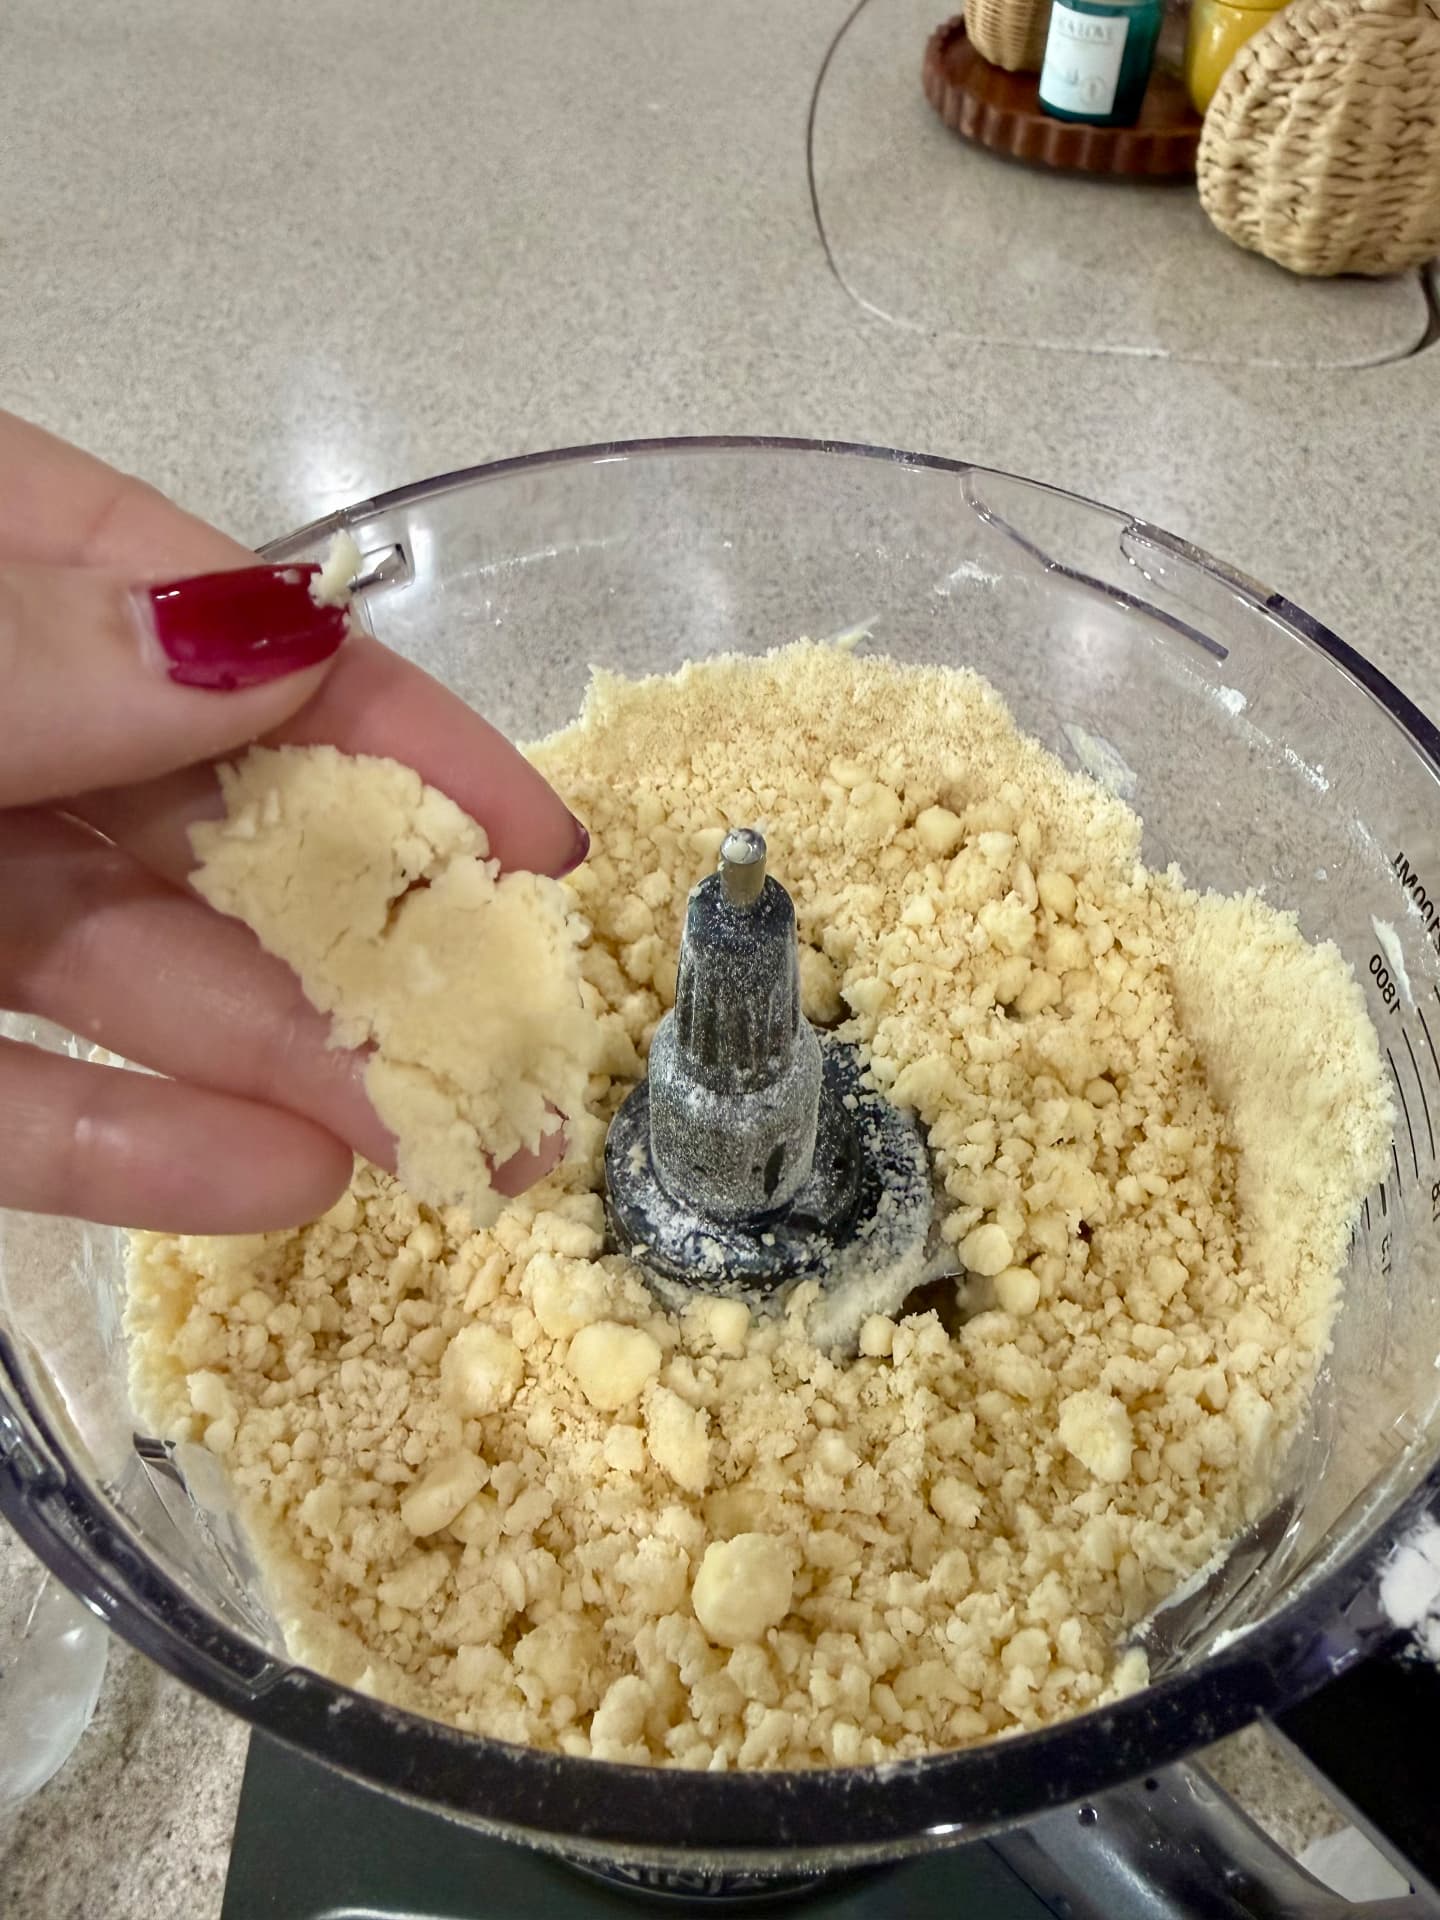
Start with 6 tablespoons of ice water and add more a tablespoon at a time as needed. The dough should remain crumbly but hold together when firmly squeezed between your fingers. Do not process it into a ball.
Press, Divide, and Chill
Turn the crumbs onto a clean, unfloured countertop. Gently gather and firmly press them together without kneading. If they will not hold together, add a little more ice water, a teaspoon at a time.
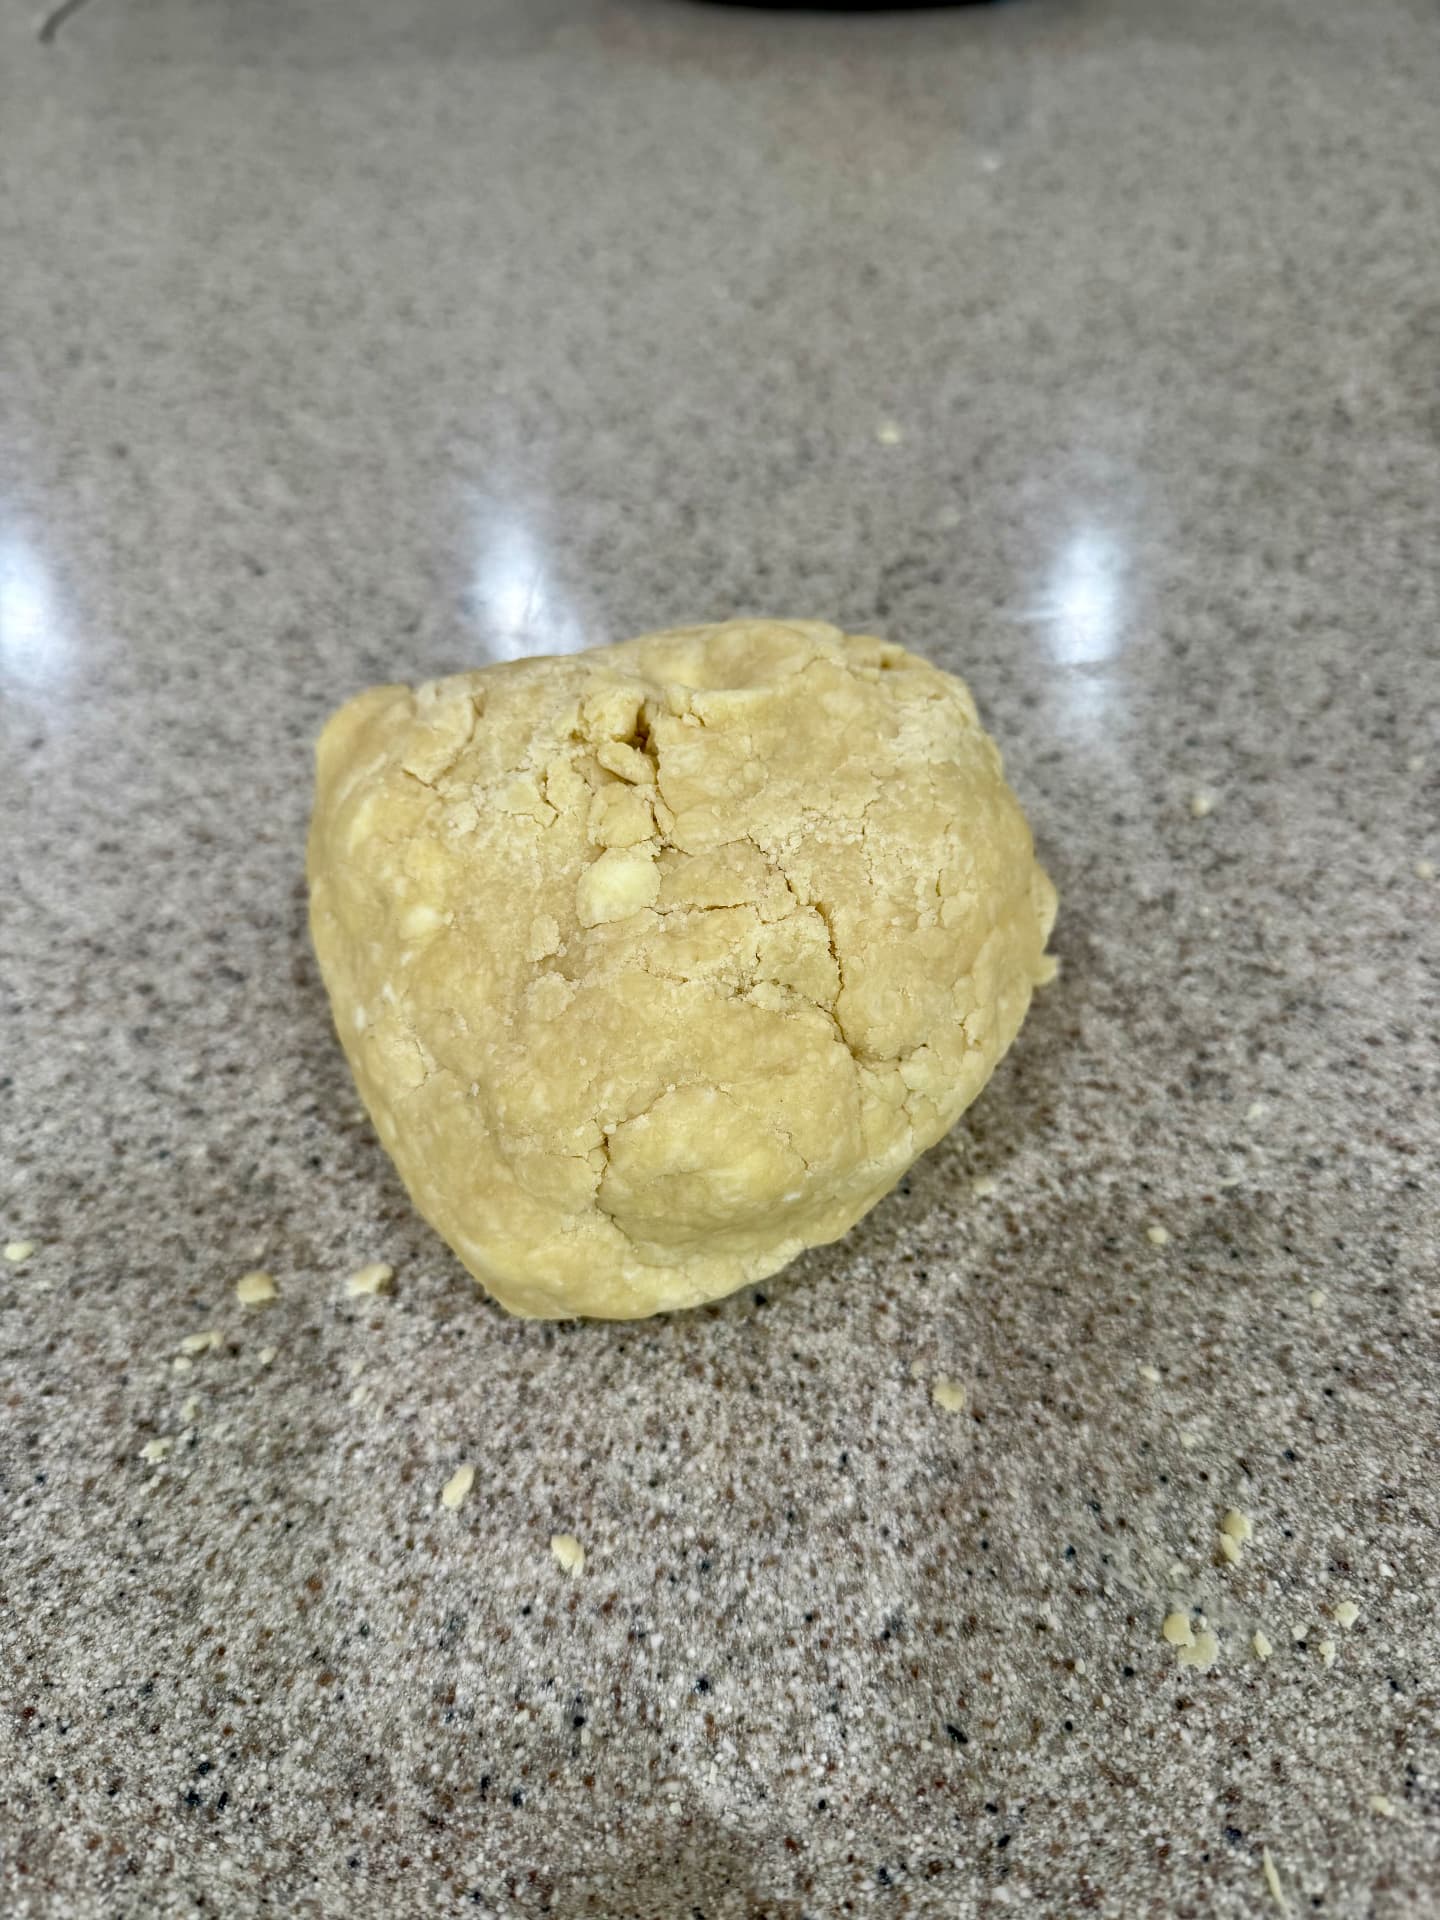
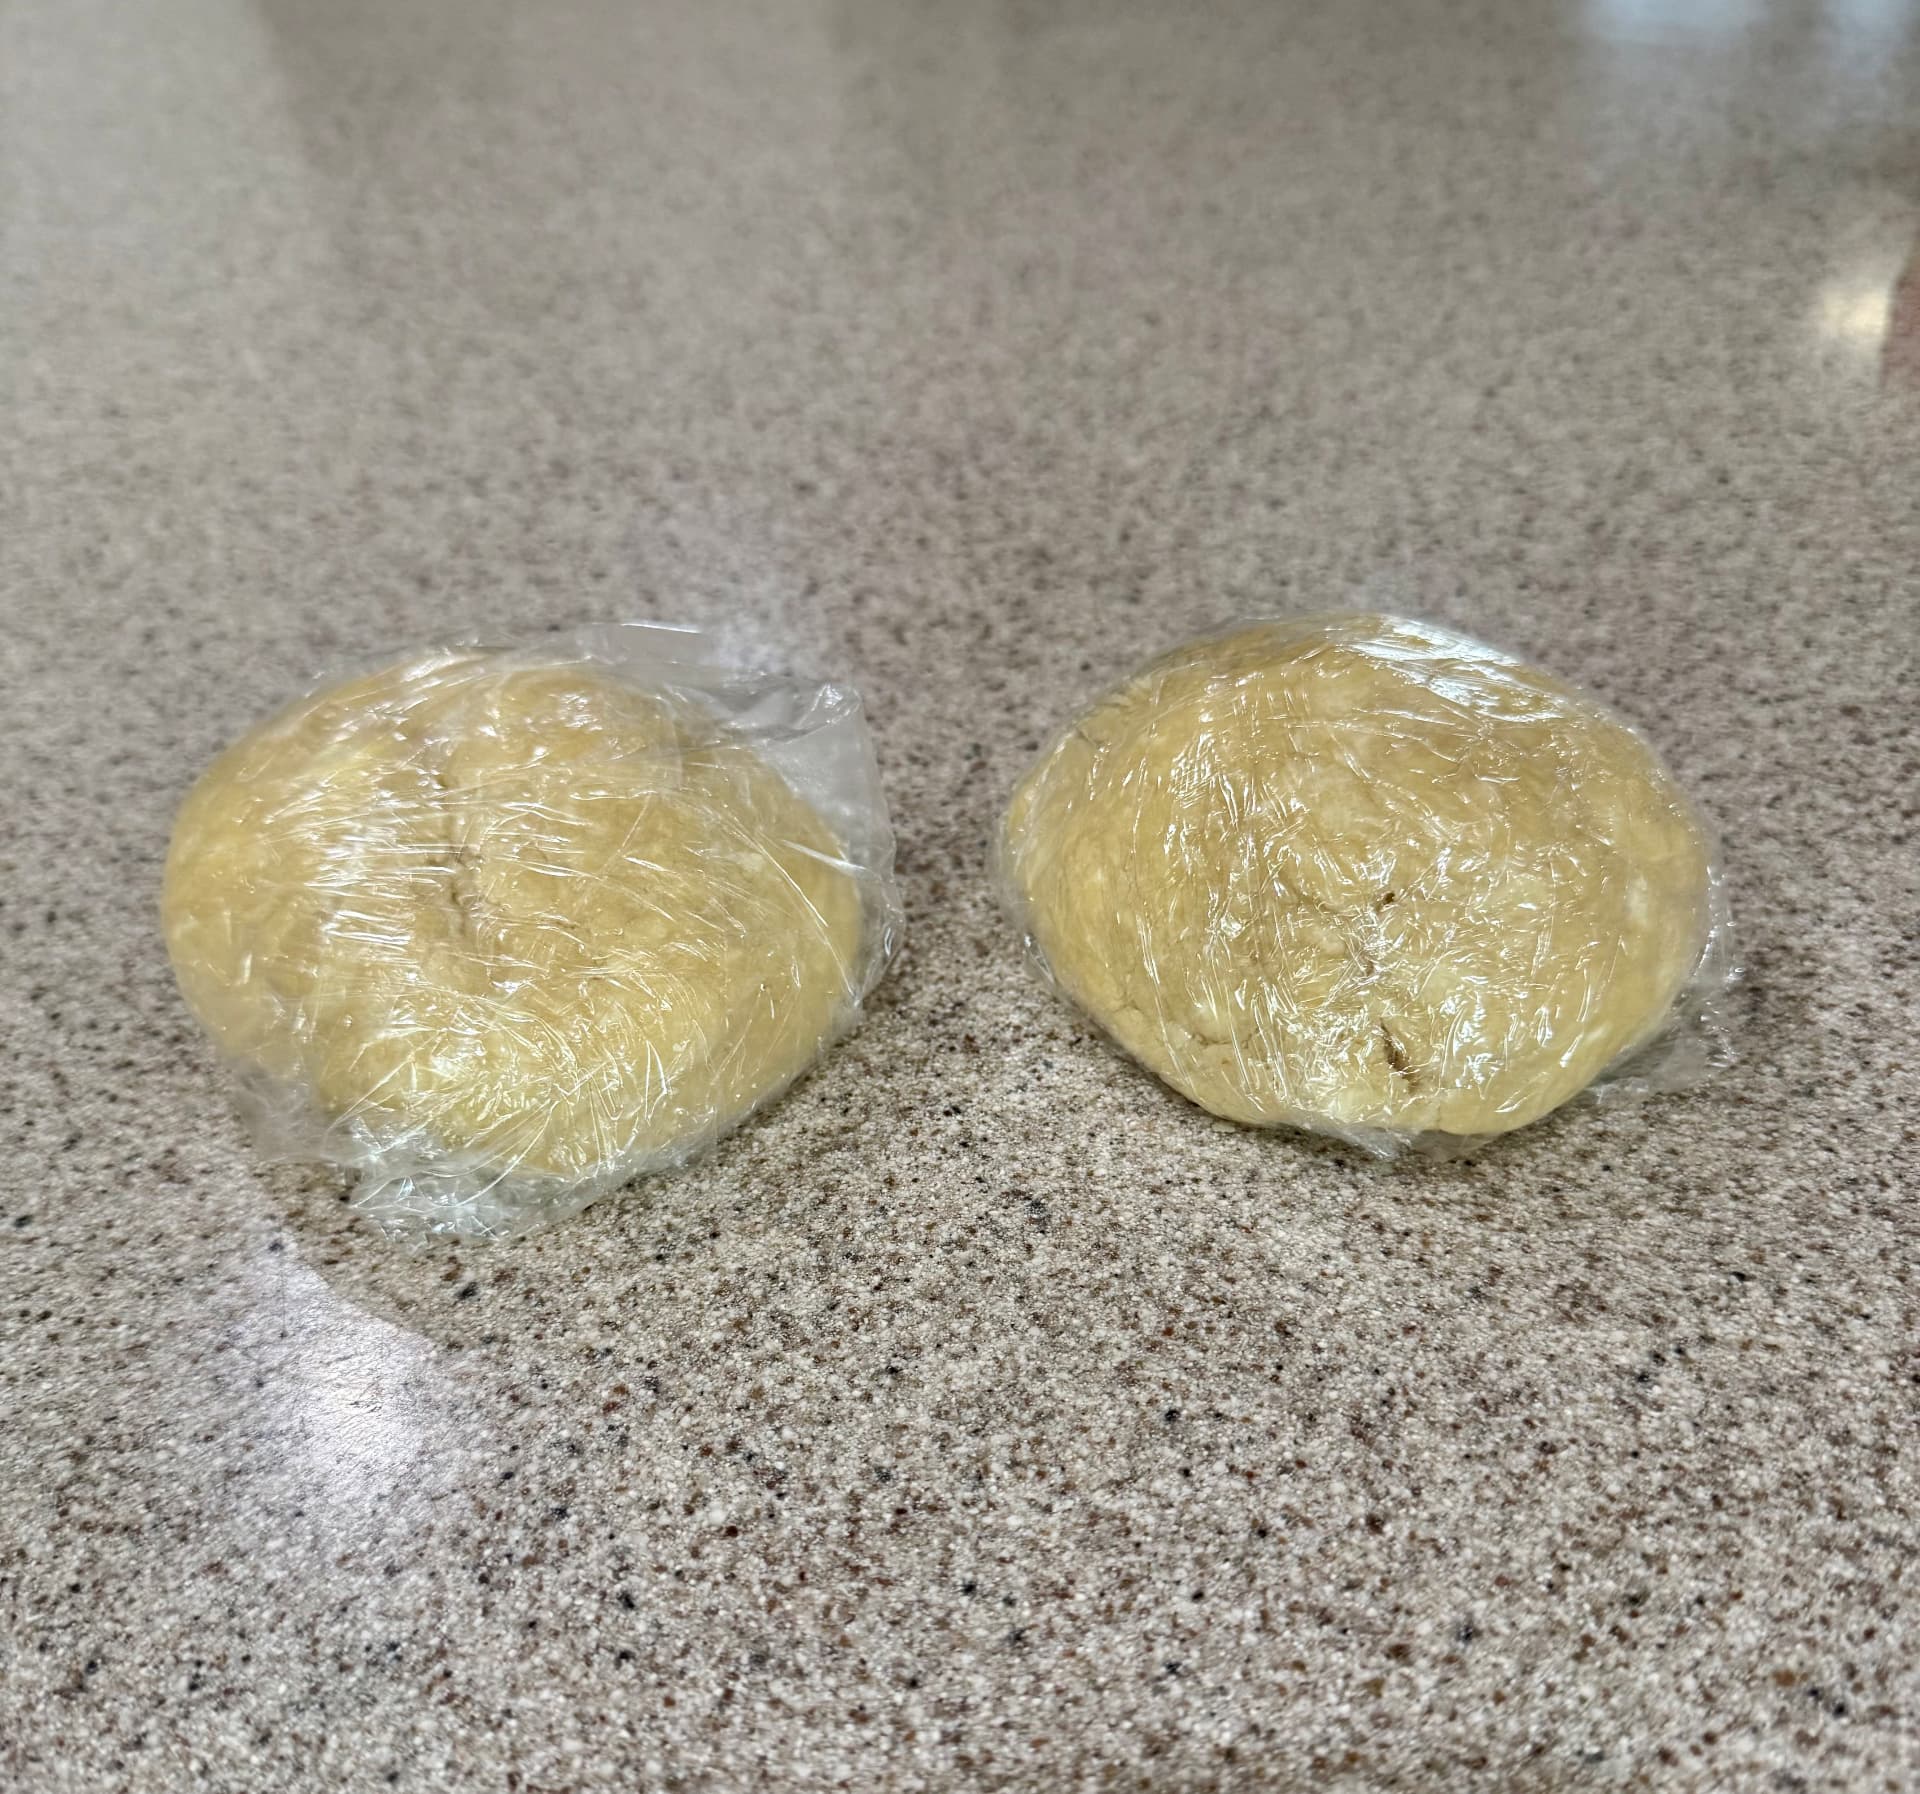
Divide the dough into two equal portions and shape each into a flat disk about 1 inch thick. Wrap tightly and refrigerate for at least 1 hour before rolling.
Roll and Fit the Crust
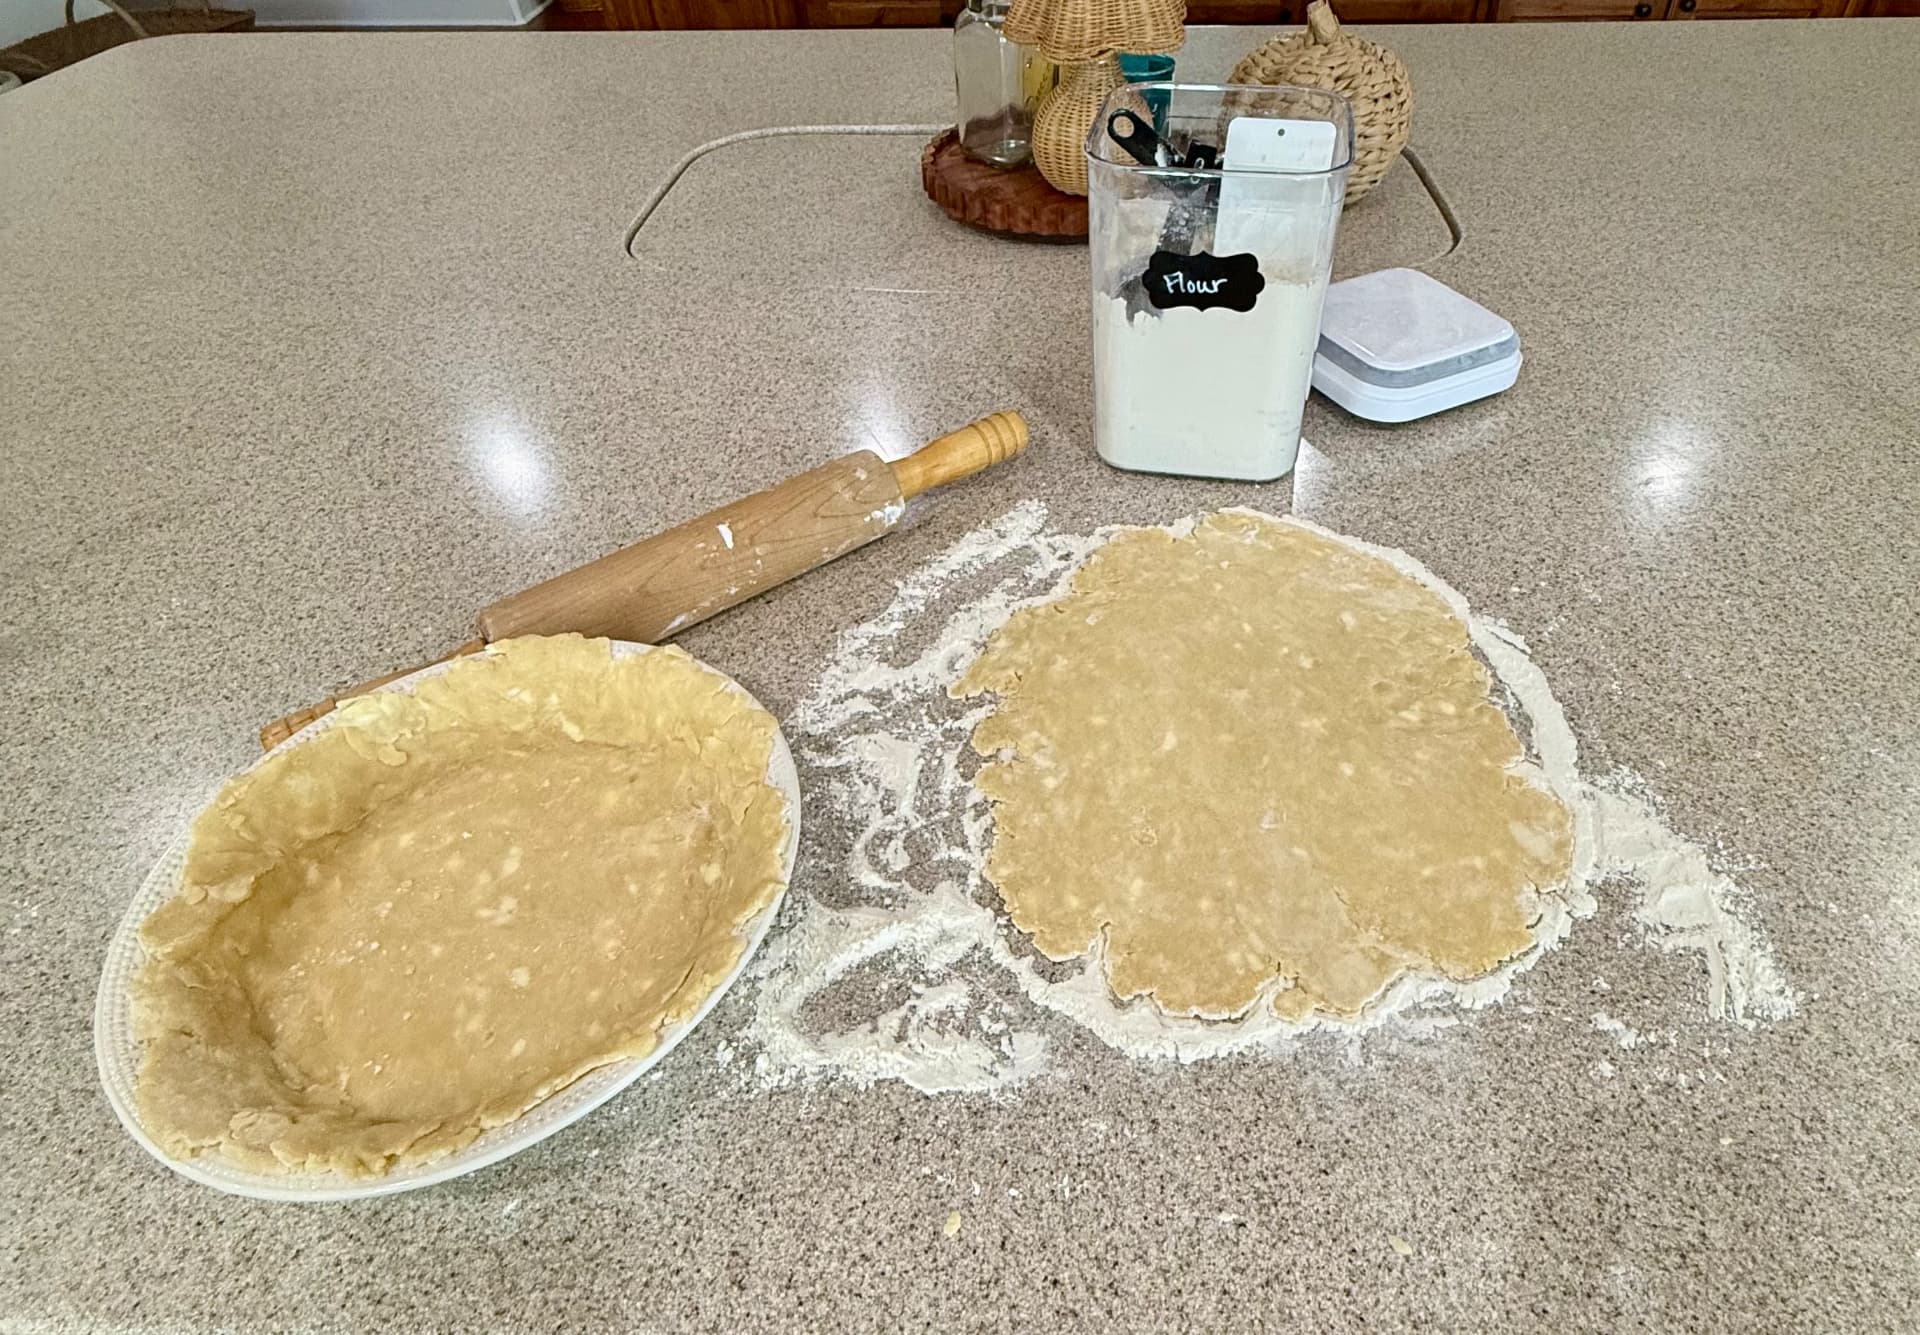
Lightly flour the counter and rolling pin, then roll each chilled disk into a circle approximately 12 inches wide and ⅛ inch thick. Ease the dough into a 9-inch pie plate without stretching it.
Finish the Edges
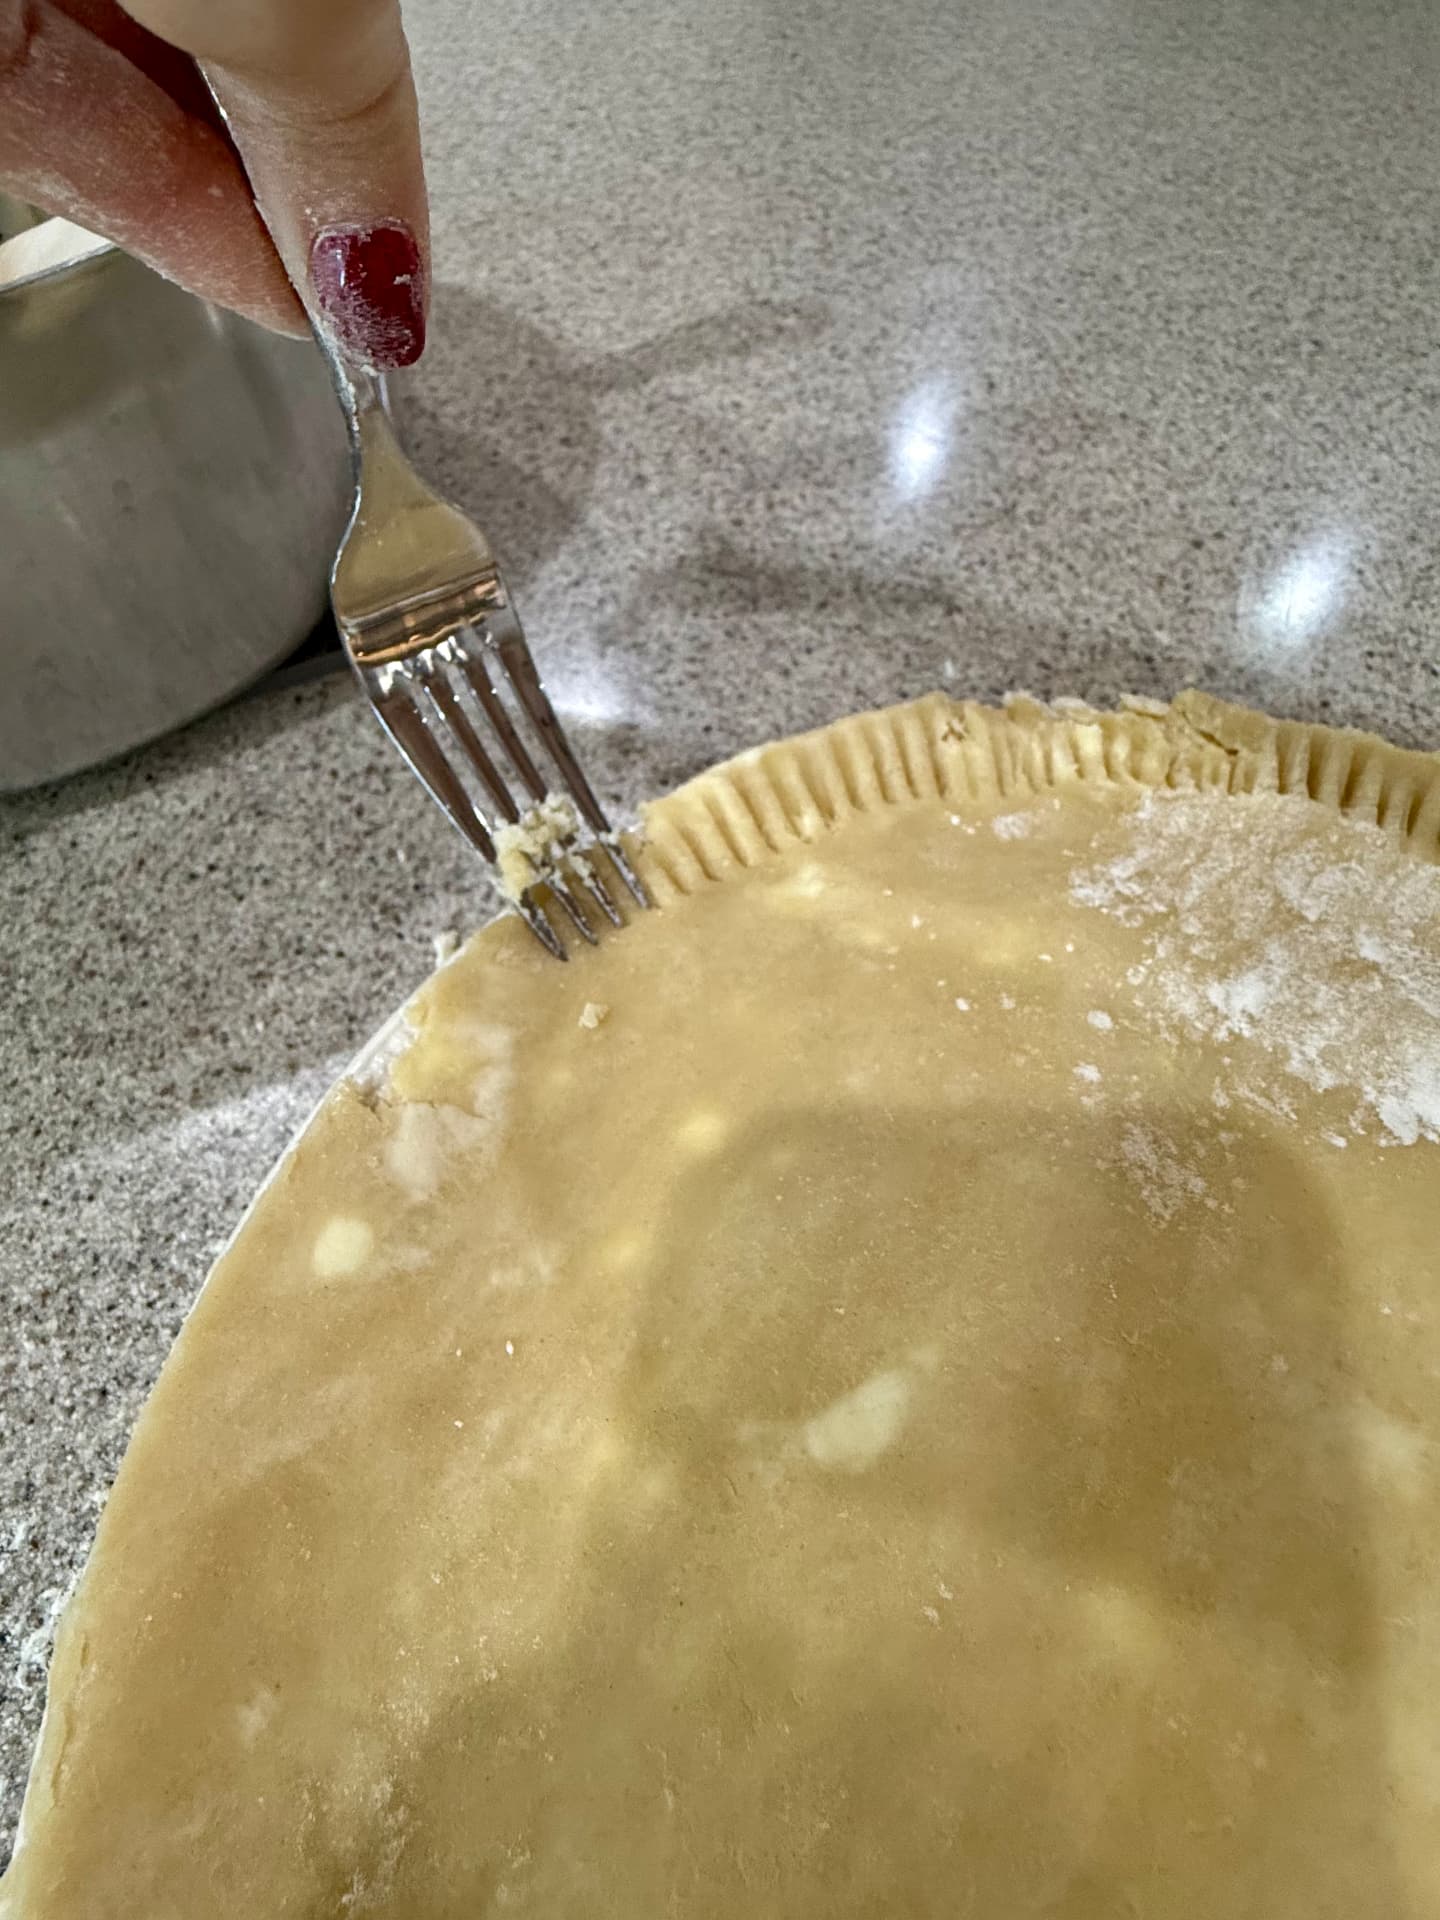
Trim and crimp the edges as desired. For a double-crust pie, add your filling, cover with the second crust, seal the edges, and cut steam vents. Refrigerate the assembled pie for 15–20 minutes before baking.
Bake for Your Filling
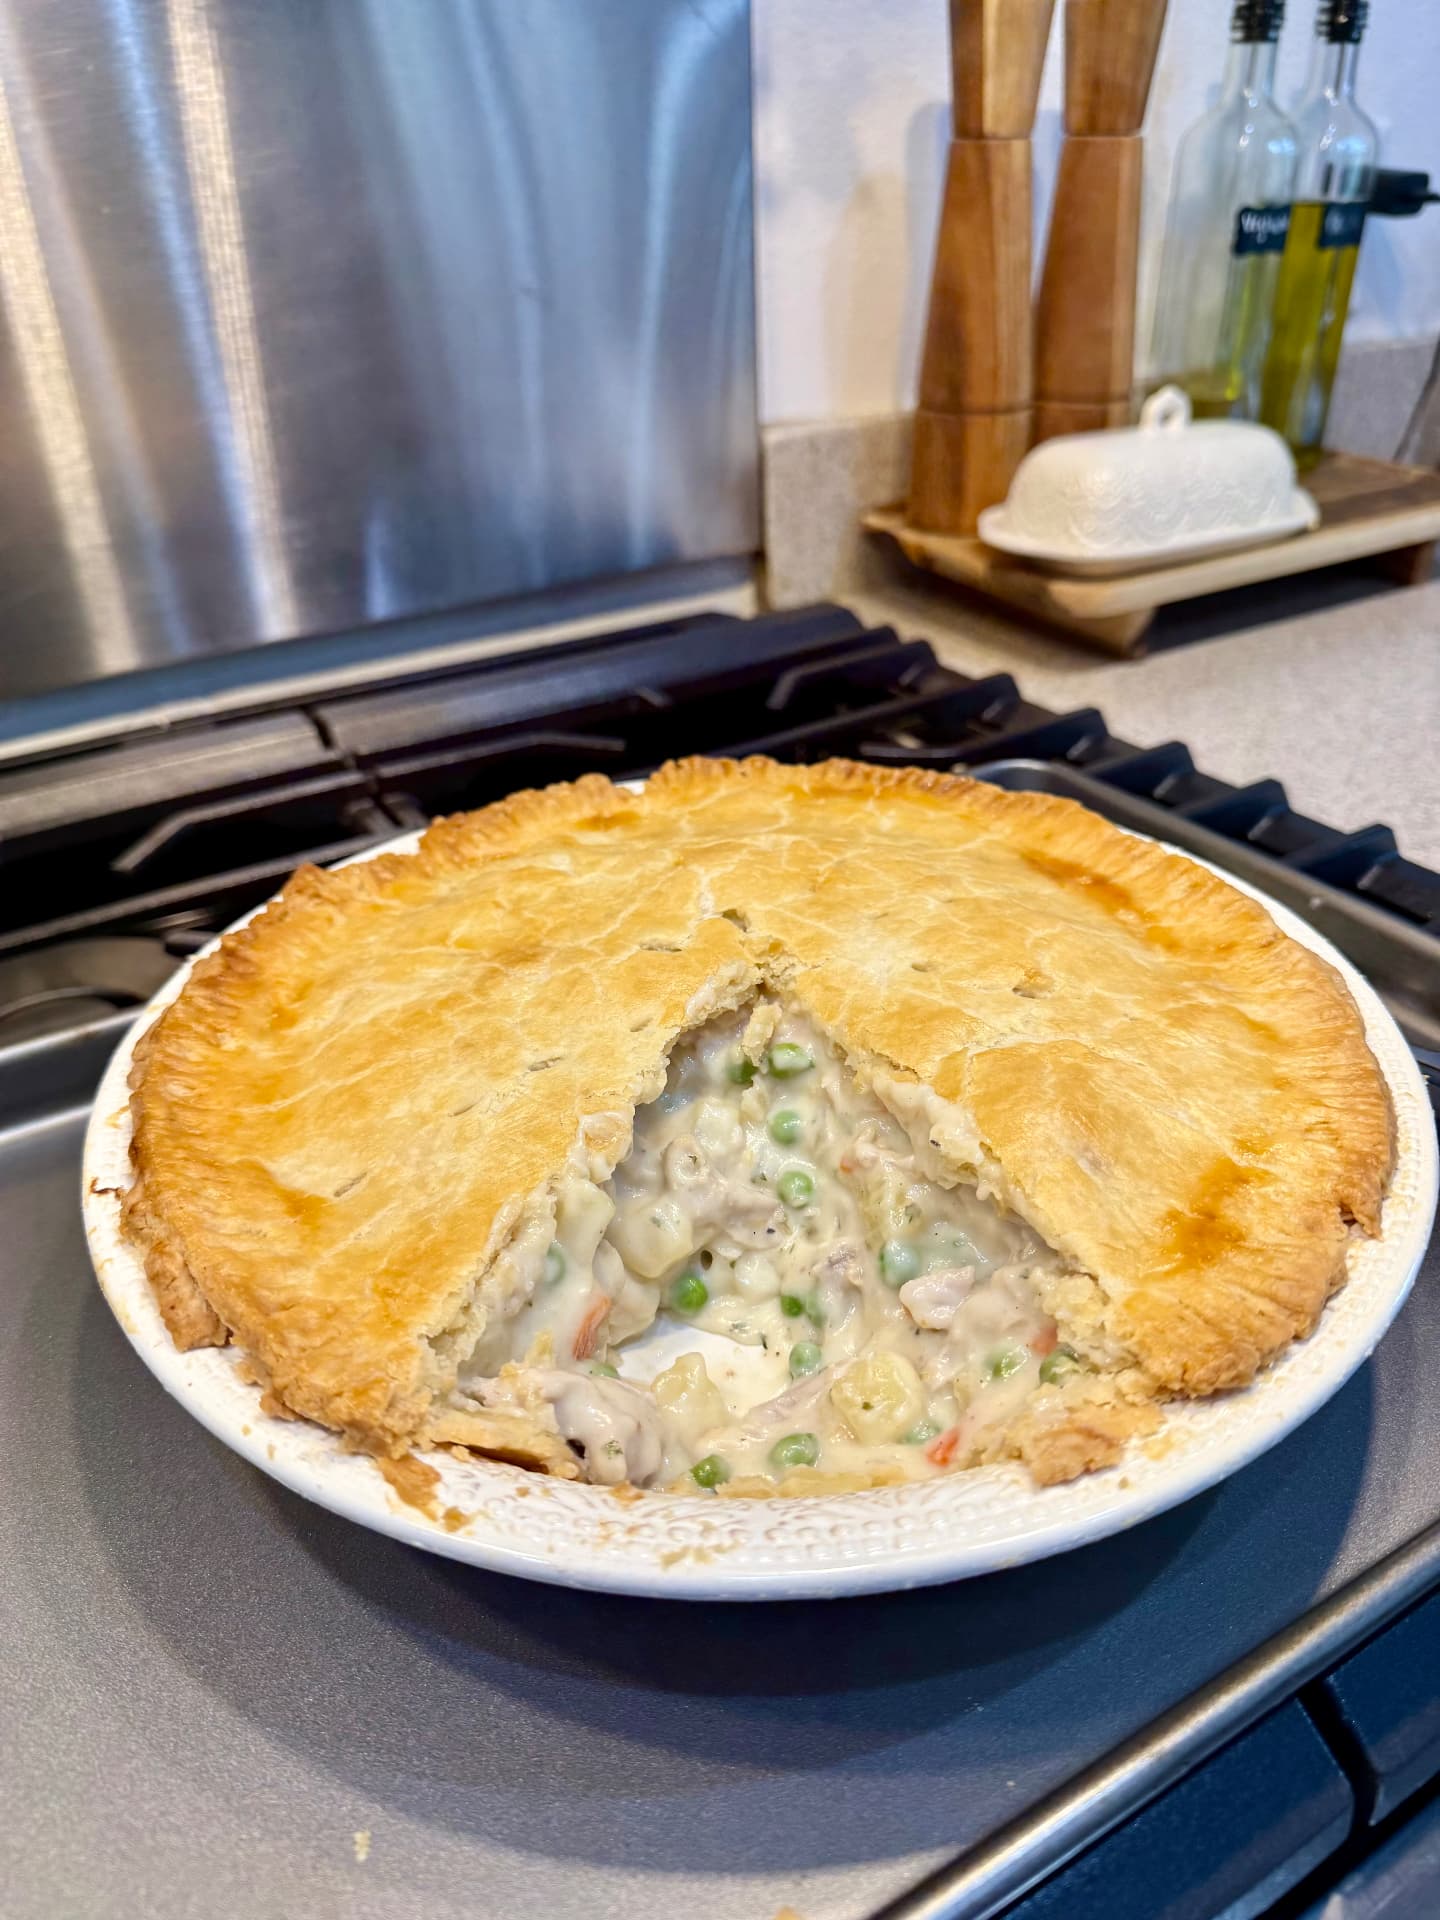
The baking time and temperature depend on the pie filling. The golden crust shown here was baked as a chicken pot pie; use the baking guide in the recipe card and follow the directions for your specific filling.
Printable Recipe Card
Traditional Pie Crust
Prep: 15 minutes • Chill: 1 hour • Method: Food Processor
Ingredients
- 2½ cups all-purpose flour
- 1 teaspoon salt
- ½ cup (1 stick) cold unsalted butter, cubed
- ½ cup butter-flavored Crisco, chilled
- 6–8 tablespoons ice-cold water, plus a little extra if needed
- FOR OPTIONAL EGG WASH
- 1 large egg
- 1 tablespoon water
Instructions
- 1Chill the fats. Cut butter into small cubes. Refrigerate butter and Crisco until cold.
- 2Combine dry ingredients. Add flour and salt to a food processor fitted with the metal blade. Pulse 2–3 times to combine.
- 3Add butter and Crisco. Add cold butter cubes and chilled Crisco. Pulse in short bursts, approximately 8–12 times, until the mixture resembles coarse crumbs with some pea-sized pieces of fat remaining.
- 4Add ice water. Sprinkle 6 tablespoons of ice water over the mixture. Pulse briefly to incorporate. Add additional water, 1 tablespoon at a time, as needed. The mixture should remain crumbly but hold together when firmly squeezed between your fingers. Do not process into a ball.
- 5Shape the dough. Turn the mixture onto a clean, unfloured countertop. Gently gather and firmly press the crumbs together without kneading. If the dough will not hold together, sprinkle with additional ice water, 1 teaspoon at a time, and press again.
- 6Divide and chill. Divide dough into two equal portions. Shape each into a flat disk approximately 1 inch thick. Wrap tightly in plastic wrap and refrigerate for at least 1 hour.
- 7Roll out. Lightly flour the countertop and rolling pin. Roll each chilled disk into a circle approximately 12 inches wide and ⅛ inch thick.
- 8Prepare pie plate. Carefully transfer dough into a 9-inch pie plate. Gently ease into the bottom and sides without stretching.
- 9Finish the crust. Trim and crimp edges as desired. For double-crust pies, add filling, cover with the second crust, seal edges, and cut steam vents.
- 10Chill before baking. Refrigerate the assembled pie for 15–20 minutes to help the crust maintain its shape.
- 11Bake. Follow the baking instructions for your specific pie filling.
Egg Wash
Whisk together 1 egg and 1 tablespoon water. Lightly brush over the top crust and exposed edges before baking for a beautiful golden finish.
Baking Guide
- Chicken Pot Pie: Use both crusts. Bake at 400°F for approximately 35–45 minutes, until golden brown and the filling is bubbling.
- Apple Pie: Use both crusts. Typically bake at 425°F initially, then reduce to 375°F until the crust is golden and the apple filling is bubbling and tender.
- Pumpkin Pie: Use one crust. Partially blind-bake if required by the filling recipe, then fill and bake according to its directions.
Storage
- Refrigerator: Up to 3 days, tightly wrapped.
- Freezer: Up to 3 months, tightly wrapped.
- To Thaw: Refrigerate overnight before rolling.
Tips for the Best Pie Crust
- Keep butter, Crisco, and water cold.
- Pulse the food processor rather than continuously blending.
- Leave small pieces of fat throughout the dough for flakiness.
- The dough should hold together when squeezed but remain crumbly before shaping.
- Press the dough together rather than kneading.
- Avoid adding extra flour when shaping the disks.
- Chill before rolling and again before baking.
- Use egg wash for a beautiful golden-brown finish.