Canning & Preserving
From Garden to Pantry: Pressure-Canning Our Green Beans
Green bean day is one of the traditions we look forward to every summer. Some years we grow bush beans in rows, and other years we grow pole beans on the cattle-panel trellises — this year it was pole beans. Because green beans are a low-acid food, we always pressure can them using current tested guidance. Either way, the beans end up in bowls on the counter, cut into two-inch pieces, and packed into jars for the pantry.
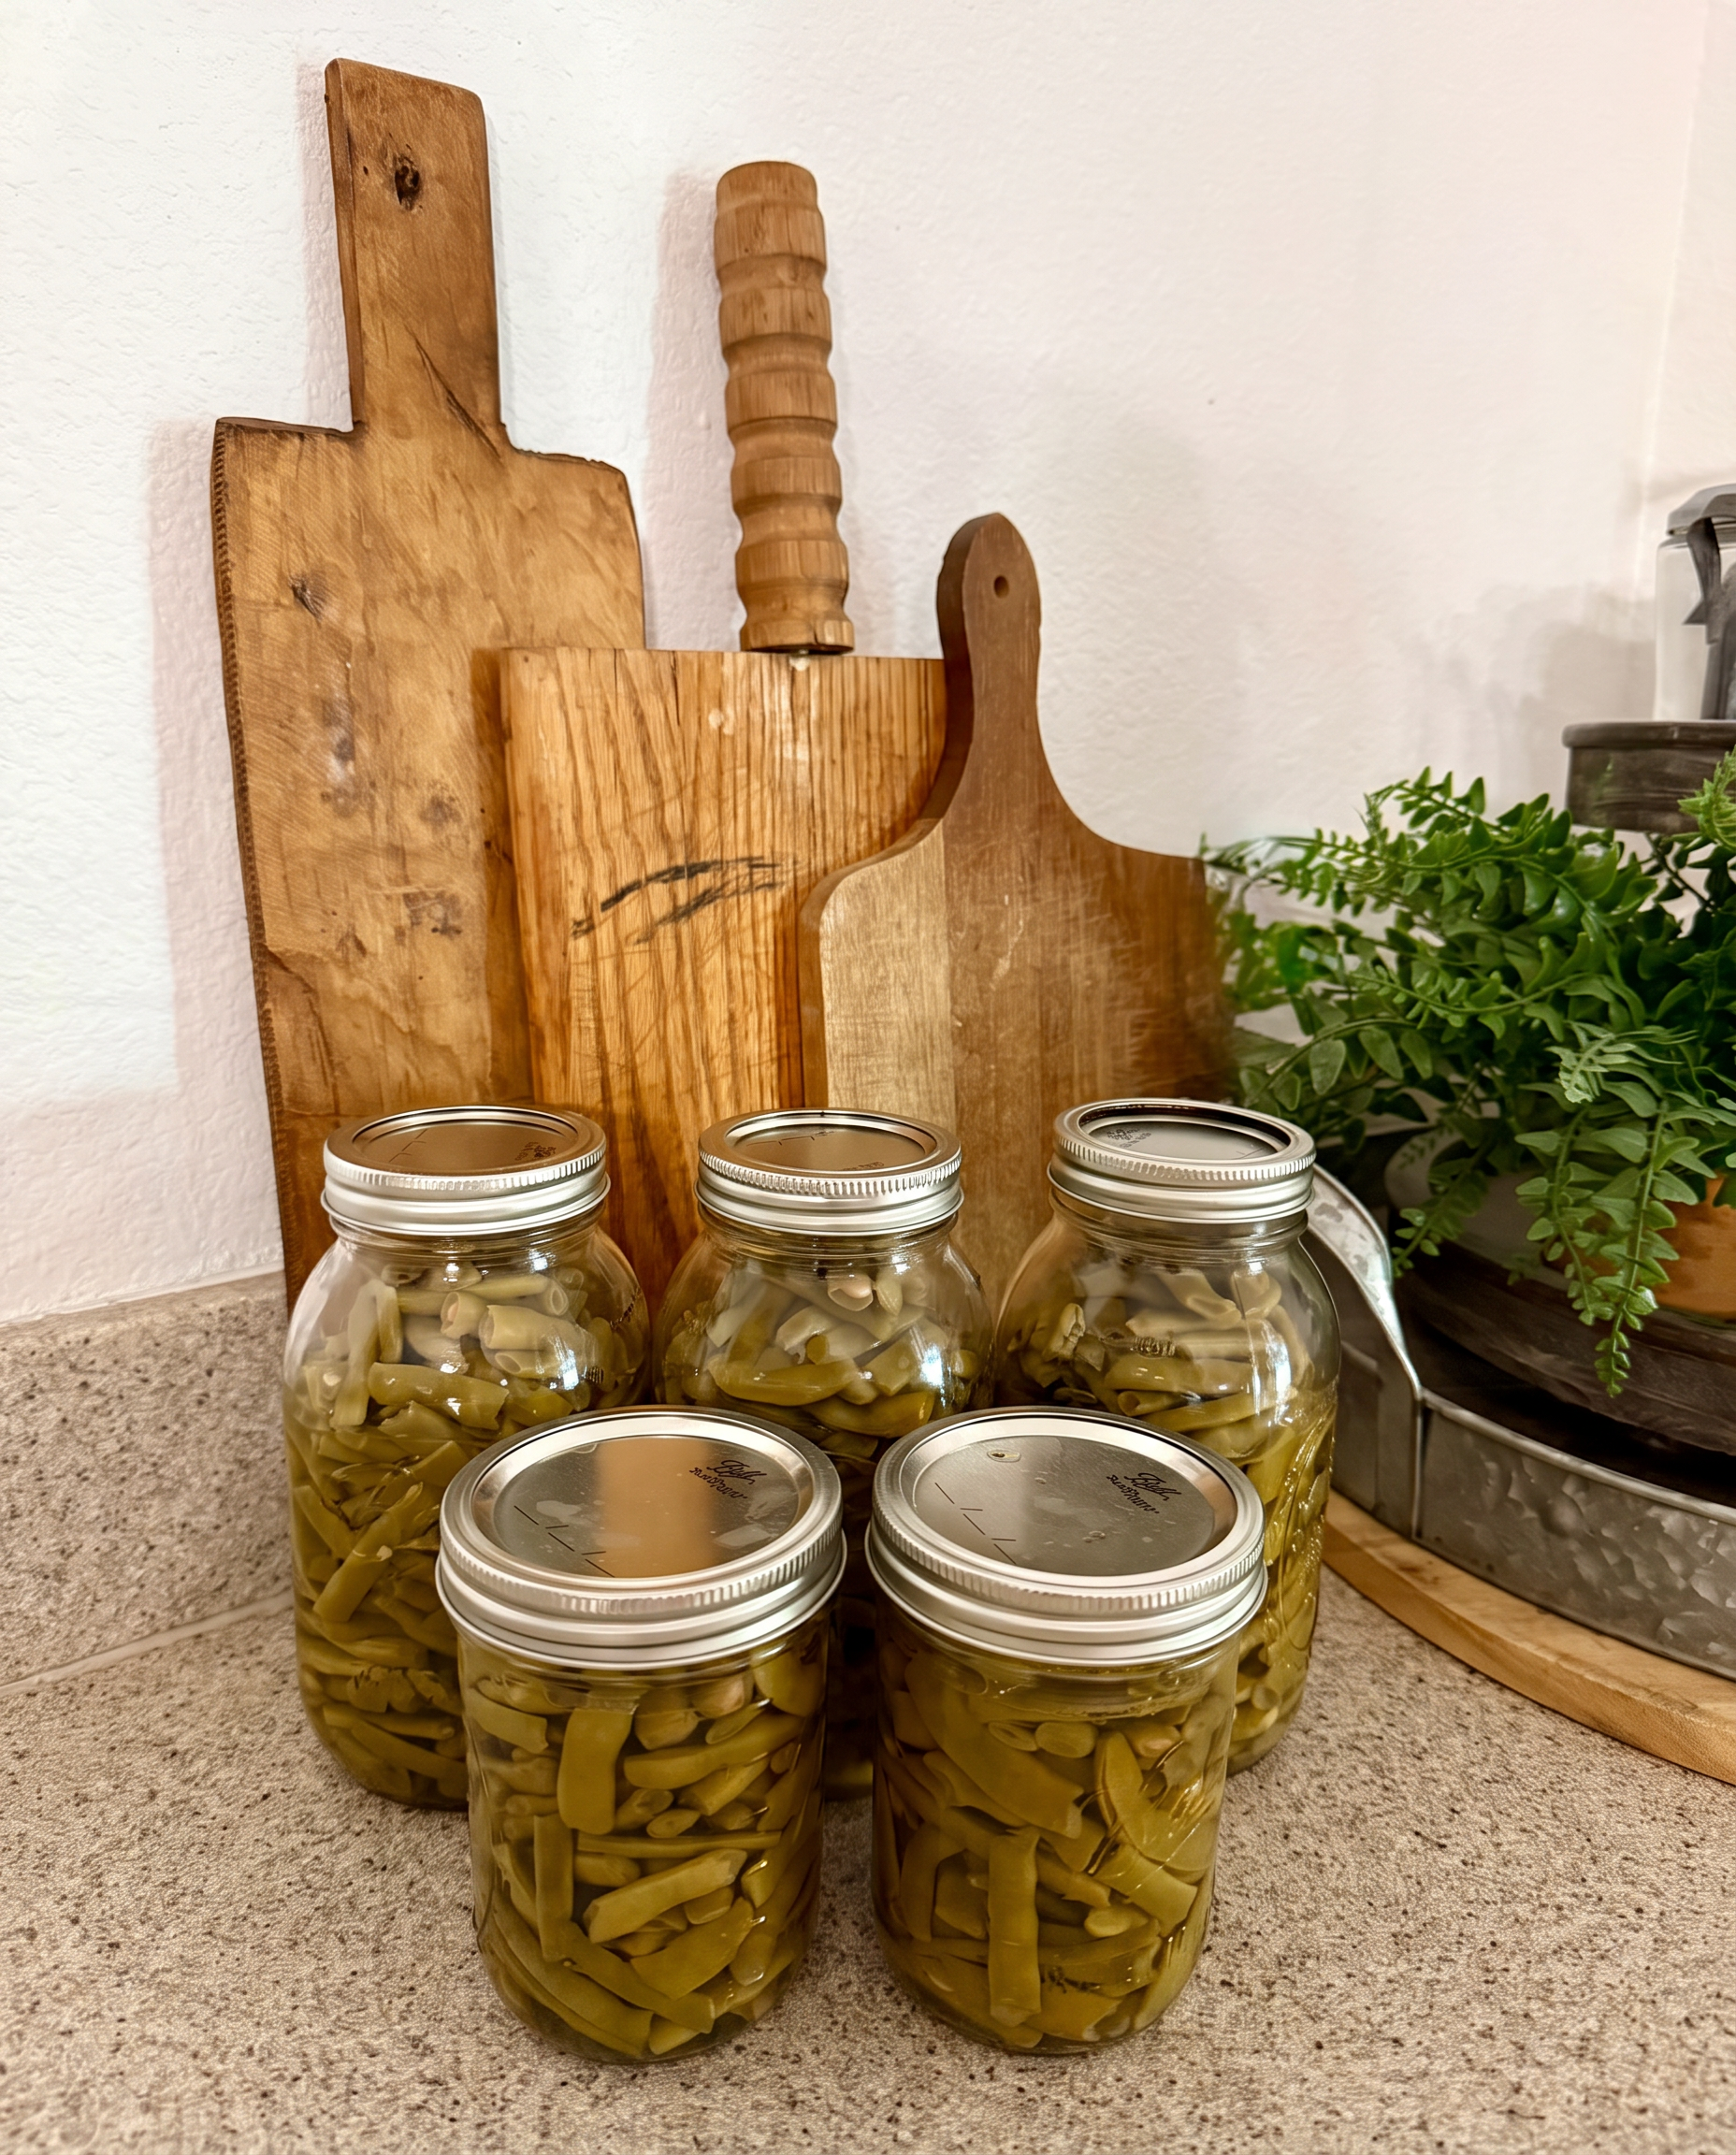
Bush beans or pole beans
We've grown both bush beans and pole beans over the years. Bush beans grow in rows and give us a more compact planting, while pole beans climb our cattle-panel trellises. This year we grew pole beans, and the trellis setup worked especially well for us. The beans were much easier to see and pick, and we liked being able to work our way along the trellis instead of bending over the rows. Whichever type we grow, they end up in the kitchen the same way — picked, washed, cut into roughly two-inch pieces, packed tightly into jars, and pressure canned for the pantry.
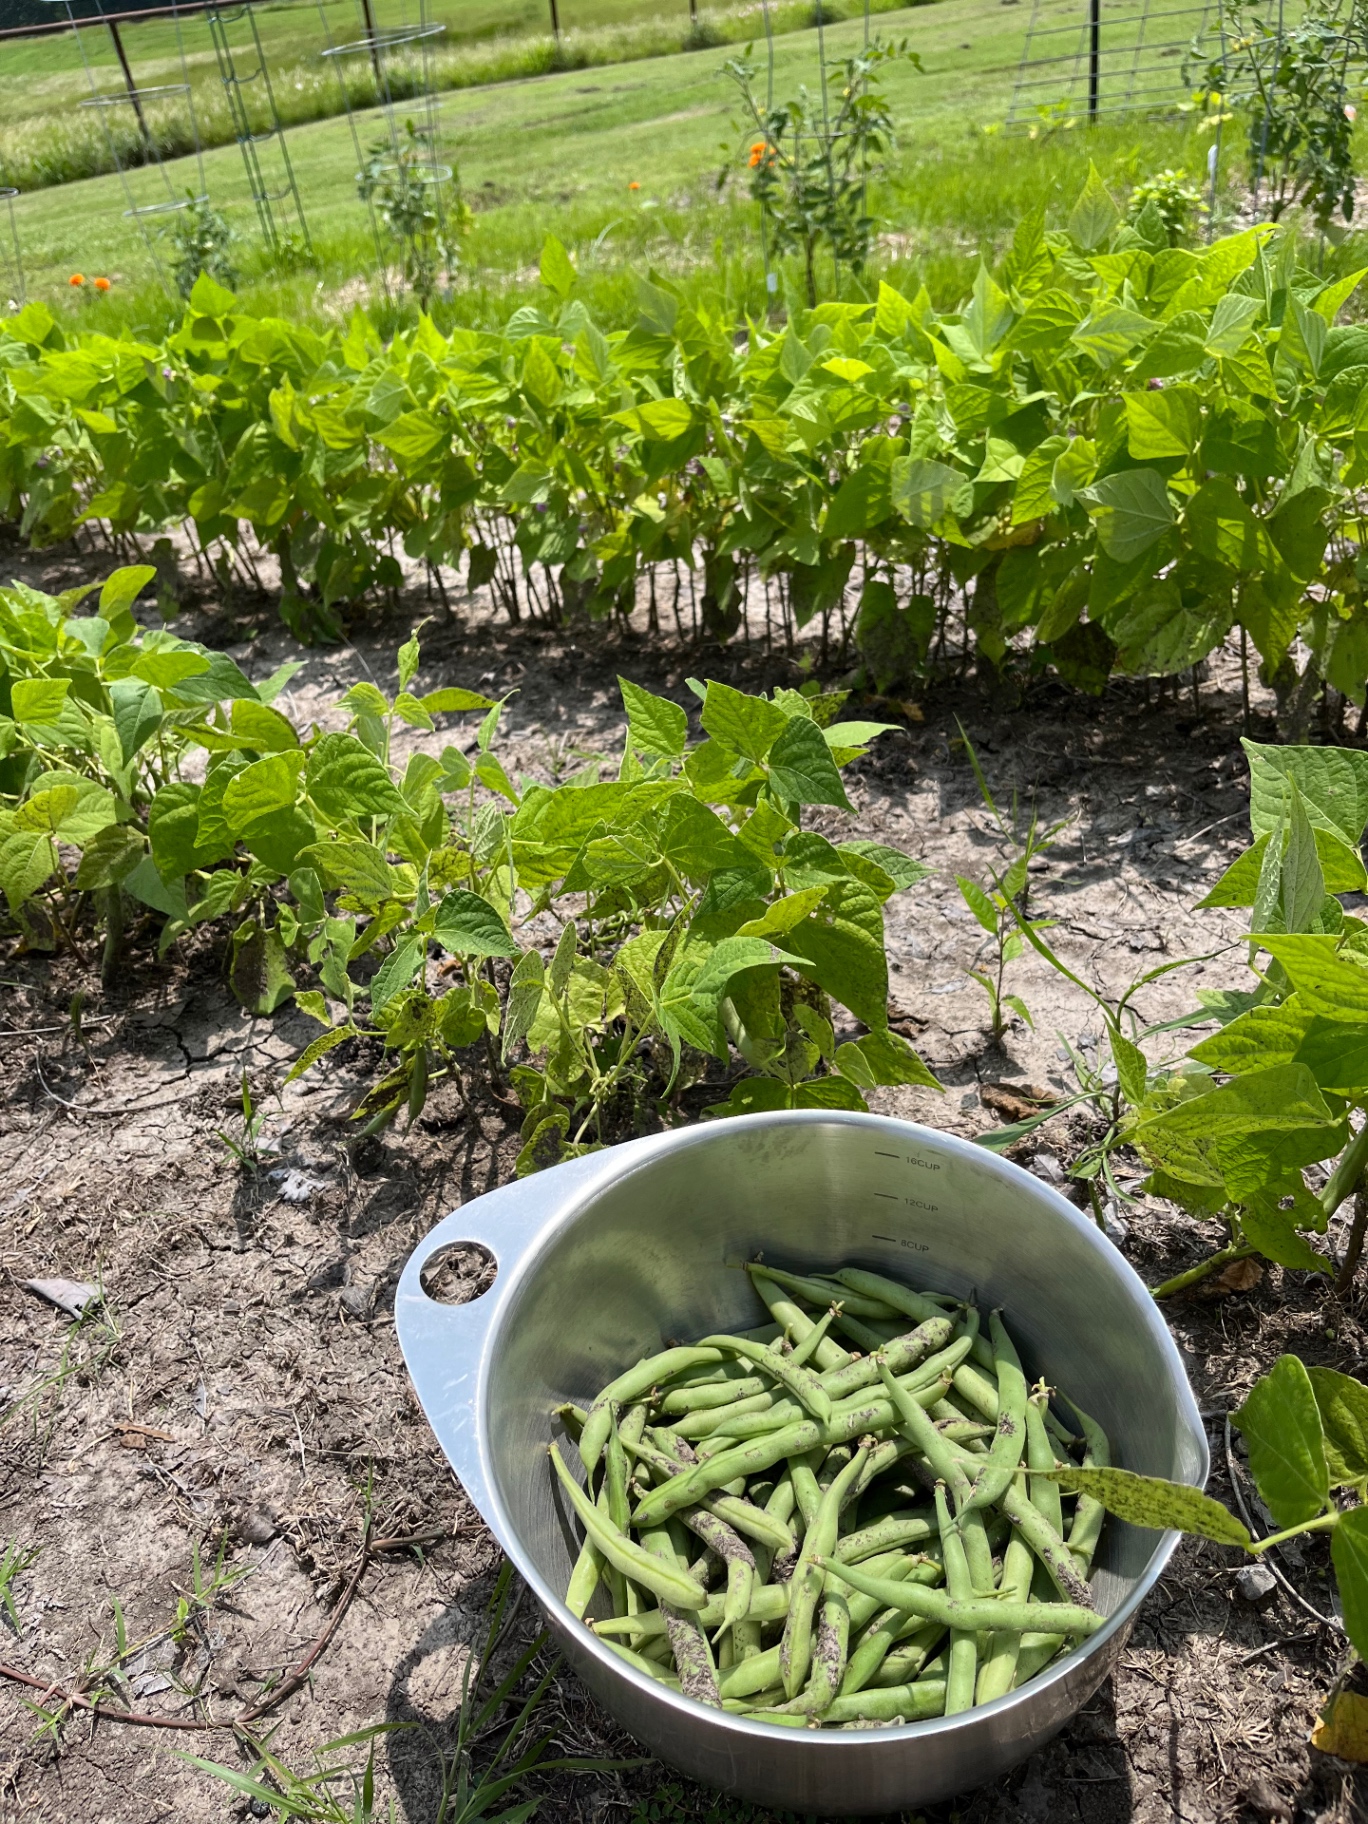
Picking and washing
We pick in the cool of the morning while the beans still snap, and bring them straight inside in big bowls. They get washed in cold water, and anything limp, rusty, or overly mature gets set aside for the chickens instead of the jars.
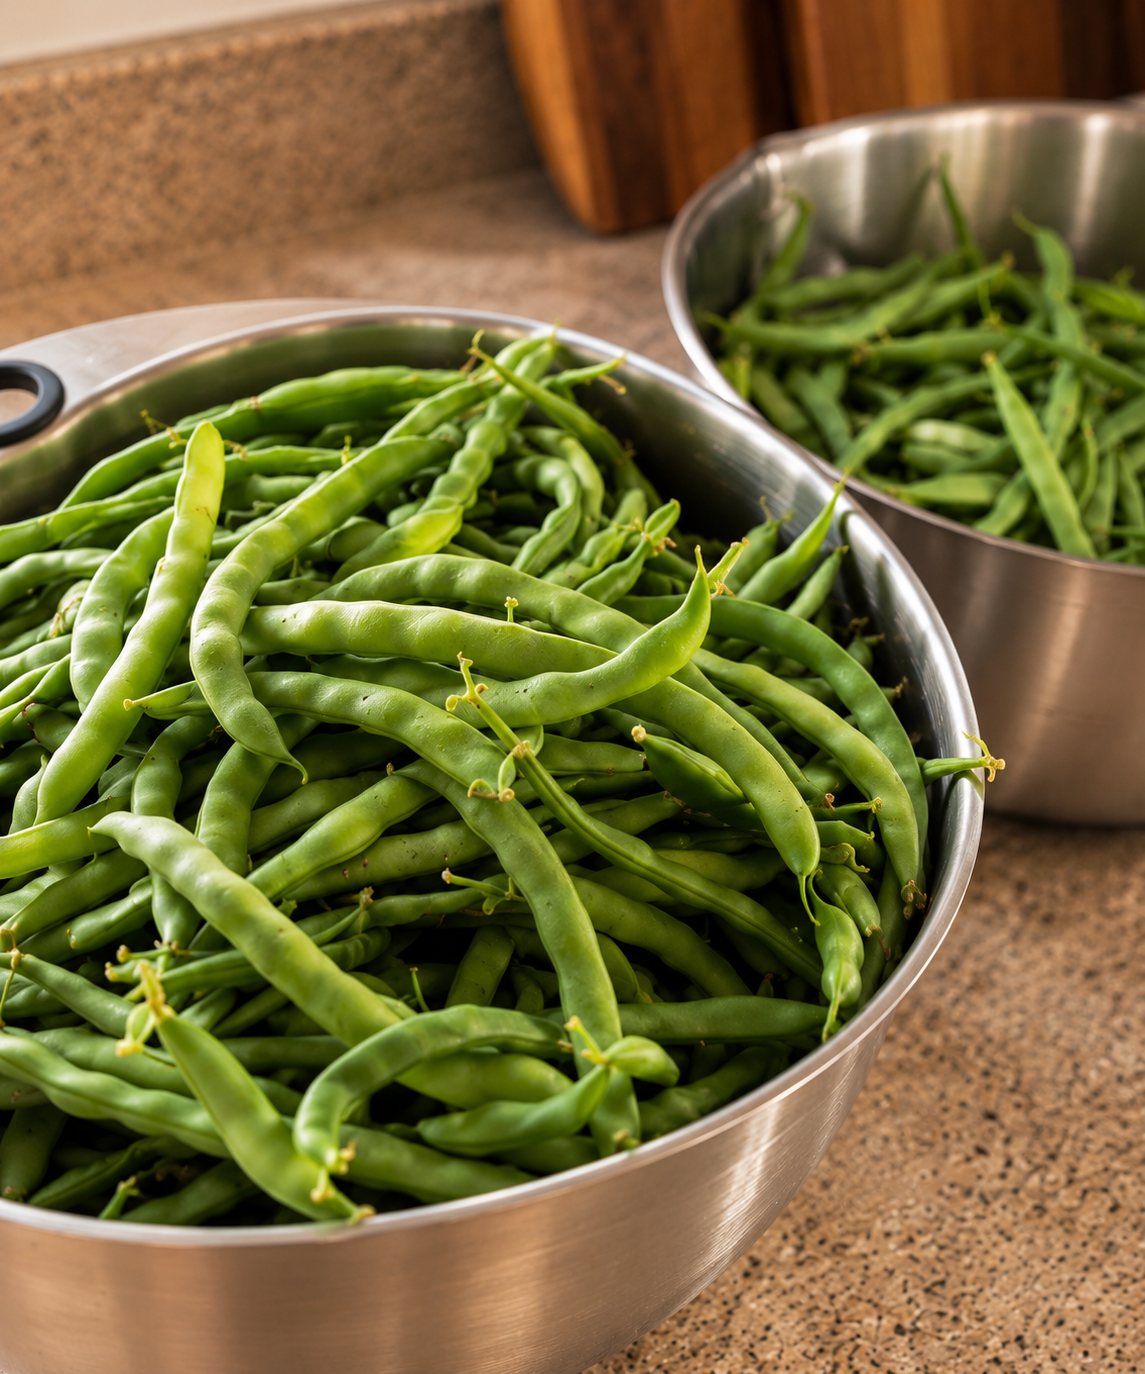
Snapping and cutting to two inches
We snap the ends off and cut the beans into roughly two-inch pieces. Two inches is the size that packs well in a quart jar without getting mashed, and it's easy enough that everybody in the kitchen can help. This is the part of the day that turns into a table full of people talking.
Packing the jars
We raw pack: cut beans go into hot jars snug but not crushed, with 1 inch of headspace. Salt is optional and only for flavor — it does nothing for safety. Then boiling water goes over the beans, keeping that inch of headspace, and we run a bubble tool around the inside of each jar before wiping the rims.
Pressure canning
Lids go on finger-tight and the jars go into the pressure canner. We vent the canner, bring it to pressure, and process according to current Ball and NCHFP guidance for green beans — commonly 20 minutes for pints and 25 minutes for quarts, adjusted for altitude. Look your own numbers up every season; that's a habit worth keeping.
Cooling and storing
We let the canner come down on its own, lift the jars out, and leave them completely alone overnight. The next morning we check seals, wipe the jars, label the lids with the date, and carry them to the pantry shelf.
What we've learned
One thing we've learned is that you really do need to pack the beans tightly into the jars. It can look like the jar is full at first, but the beans settle and shift as you pack them. We gently push them down and keep adding until the jar is snugly packed without crushing the beans, while still leaving the proper headspace. Green beans are also easiest to work with while they're fresh. Once we start picking, we try to get them washed, cut, packed, and canned without letting them sit around too long. If there's more than one canner load, we simply work through them a batch at a time.
Printable Recipe Card
From Garden to Pantry: Pressure-Canning Our Green Beans
Ingredients
- Fresh-picked green beans (bush or pole), about 2 lbs per quart
- Canning salt, optional — ½ tsp per pint or 1 tsp per quart, for flavor only
- Boiling water for filling the jars
- Canning jars with new lids and clean rings
Instructions
- 1Pick in the morning, wash in cold water, and sort out anything past its prime.
- 2Snap the ends and cut the beans into roughly 2-inch pieces.
- 3Raw pack the beans into hot jars, snug but not crushed, leaving 1 inch of headspace.
- 4Add salt if you use it, then pour boiling water over the beans, keeping 1 inch of headspace.
- 5Run a bubble tool around the inside of each jar, wipe the rims clean, and seat the lids finger-tight.
- 6Process in a pressure canner following current Ball or NCHFP guidance for green beans, adjusted for your altitude.
- 7Let the canner depressurize naturally, remove the jars, and leave them undisturbed overnight before checking seals and labeling.
Helpful Tips
Green beans are low-acid and must be pressure canned — never water bath them.
Look up current times and pressures each season instead of trusting memory.
Beans lose their snap fast in the refrigerator, so pick and can the same day when you can.
Products Used
- Pressure canner
- Wide-mouth quart jars
- Stainless canning funnel
- Bubble tool